
Our guide will provide you with everything you need to know to plan, book and enjoy the epic hike up Volcan Concepcion - Nicaragua’s second highest peak!

Three days after our momentous hike to the summit of Concepcion Volcano, we found ourselves in an Italian-owned restaurant on the waters of San Jorge; a taxi, two buses, a tuk-tuk and many hours lay ahead of us but the promise of an authentic plate of pasta was too good to miss.
Legs still singing out in pain at any attempt to sit, stand, walk or anywhere in between, we struck up a conversation with the Italian over empty plates and the last glug of red wine.
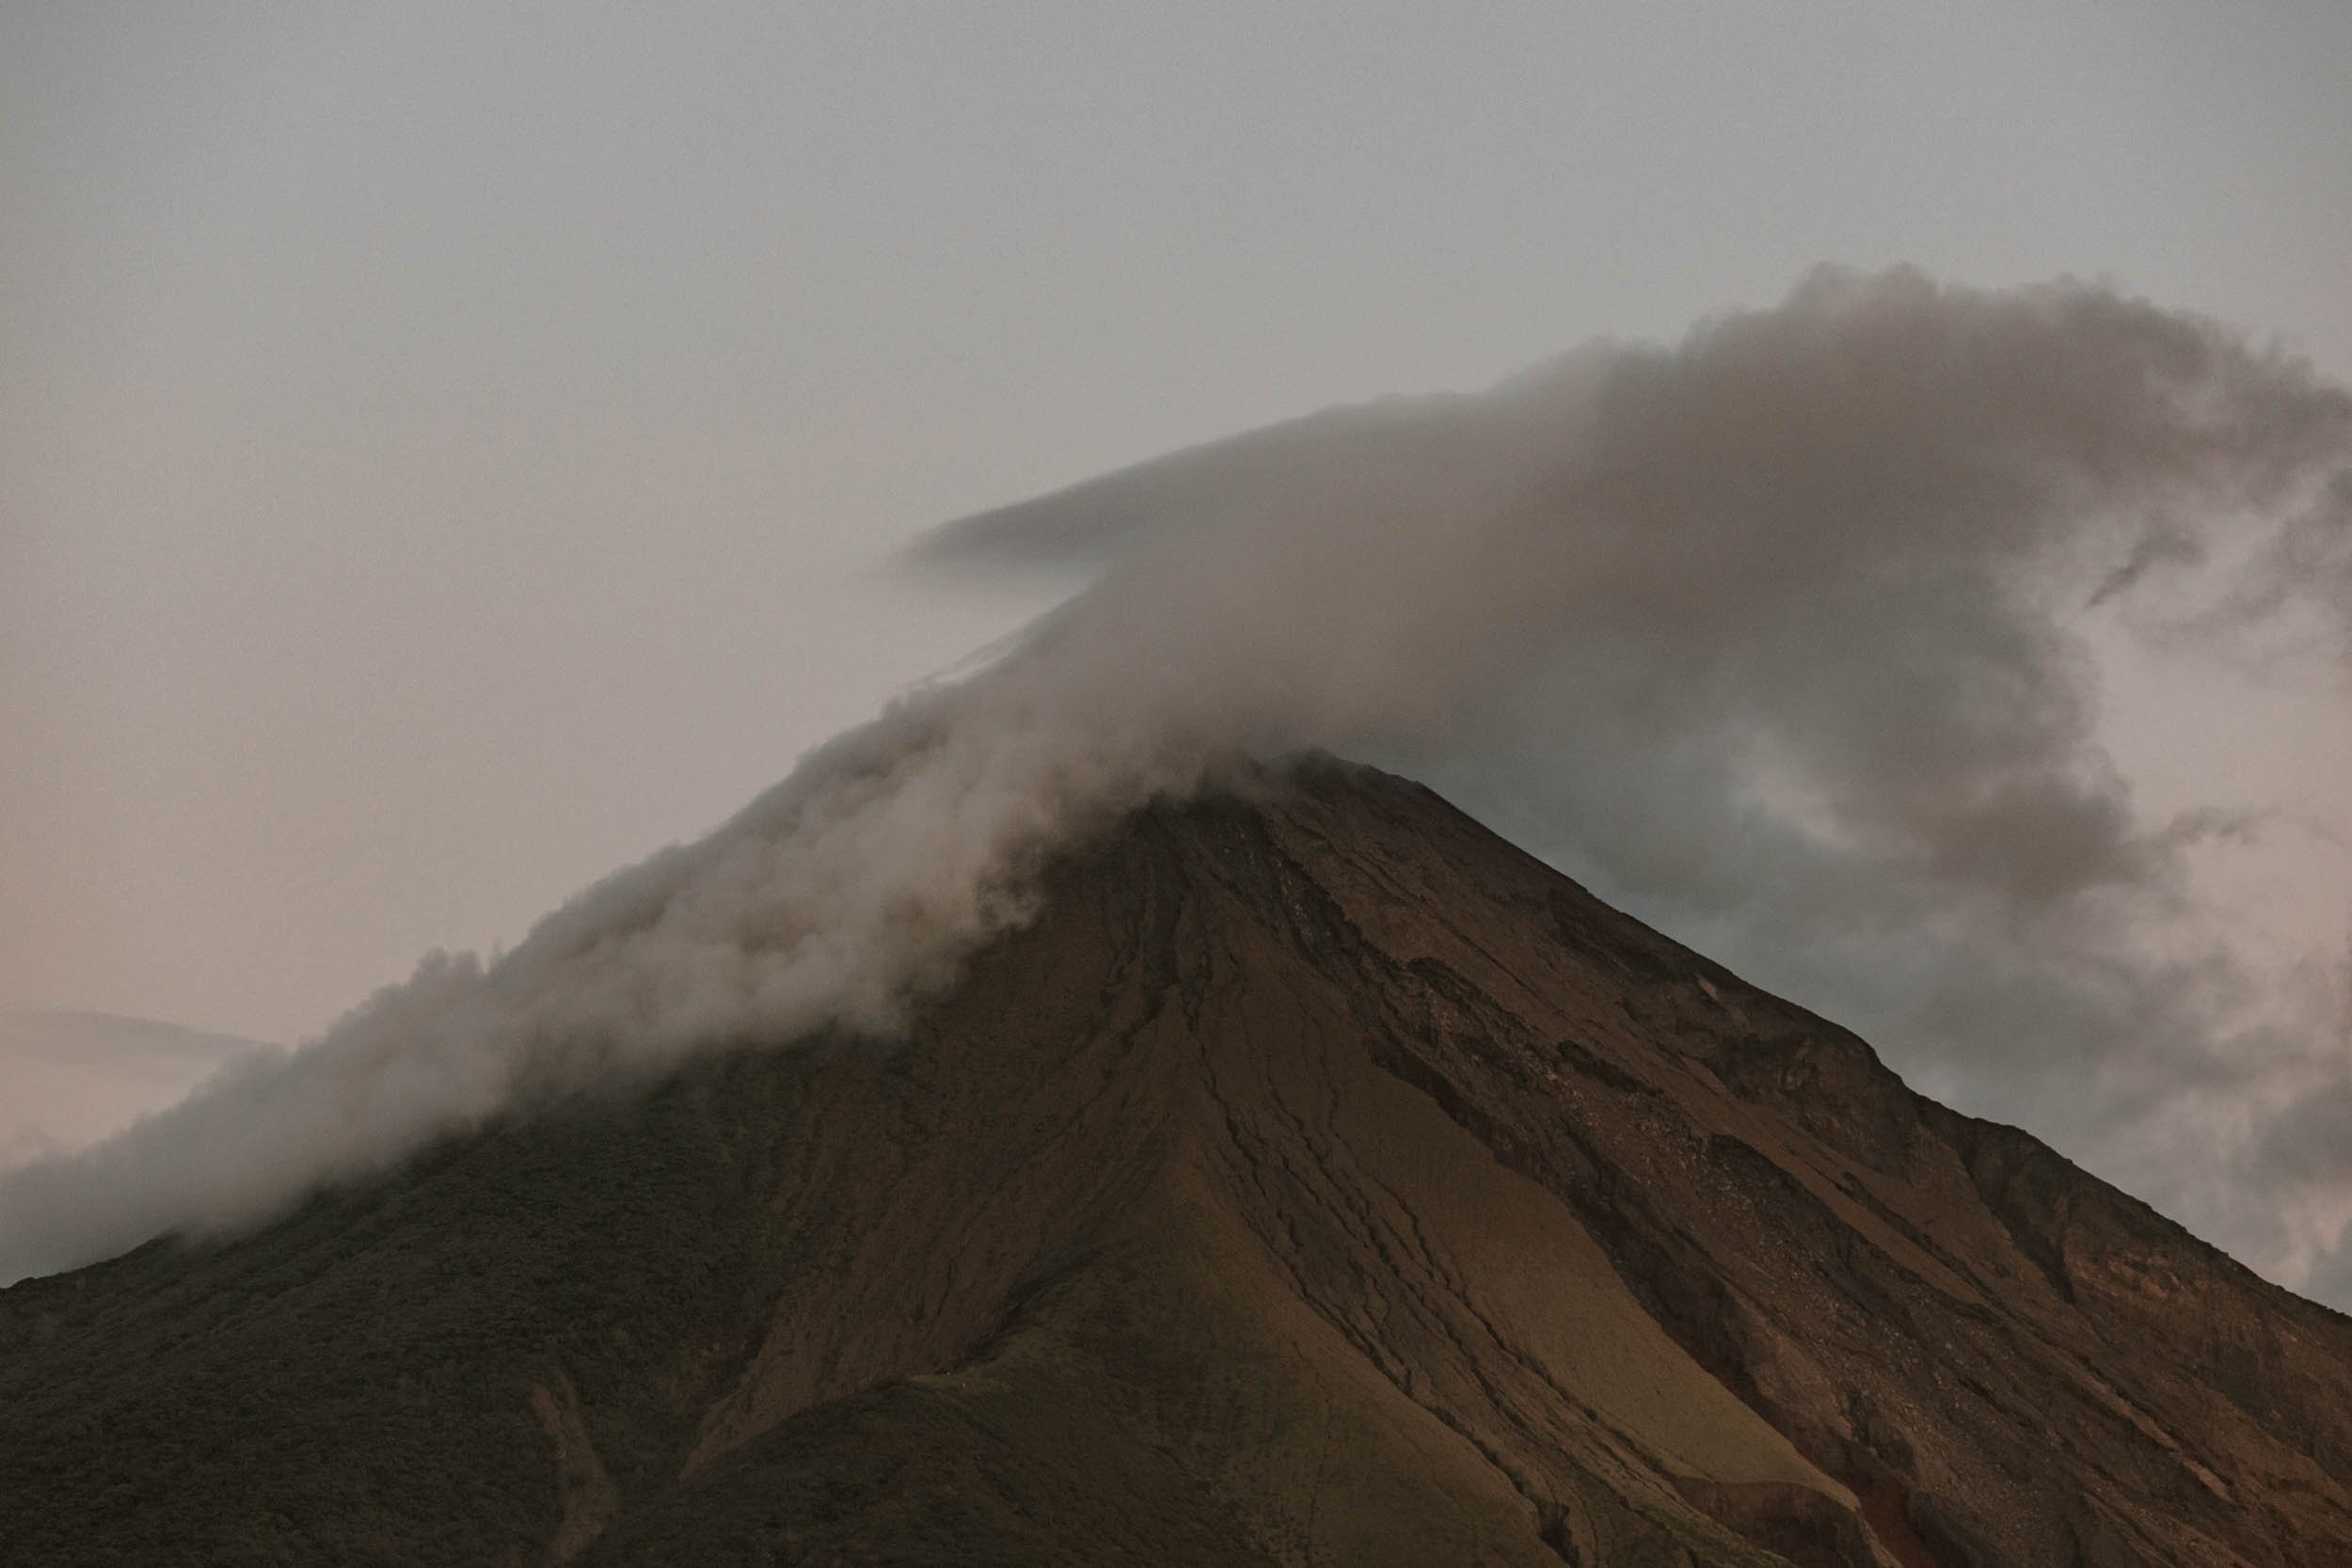
With a sing-song voice that betrayed his previous life in Milan (despite a long residence along the shores of Lake Nicaragua), he told us that he has climbed more than forty volcanoes in his lifetime, and that of all the perfect peaks across Central America and beyond, it was Ometepe’s Volcan Concepcion that proved the most difficult. Despite this, he had returned to this craggy summit three times more, cloud obscuring its crater on all but one occasion.
From the restaurant’s terrace, the perfect peak dominated the skyline, giving him a daily reminder of his bête noir.
Reading this, you may be wondering why someone would choose to complete a hike so tortuous not once, but four times? After taking on the trek ourselves, we think we have the answer.
There’s a phrase in Spanish that is uttered between passing hikers on every dusty trail in Latin America: vale la pena? Is it worth it? Or more specifically, ‘is it worth the pain?’
One undertakes such steep, never-ending ascents not for pleasure, but for the sense of accomplishment it gives. So that, as the day closes on your most recent adventure and you’re back at the hostel with a well-earned beer in hand or on the ferry back to the mainland, you can look out and up at the looming Concepcion as she changes colour beneath a setting sun with a single thought rolling across your mind - fuck, did I really go up there?
Hiking Concepcion is tough - very tough in places - but is it vale la pena? Abso-bloody-lutely.
———
In this guide we’ll cover everything you need to know to hike the epic Volcan Concepcion safely and responsibly, including how to book it, costs, conditions, where to stay, what to expect and how to prepare.
Here is your complete guide to hiking Concepcion Volcano, Ometepe’s highest peak.
Concepcion Essentials
Altitude // 1630 metres
Distance // 12 kilometres
Time // 8-10 hours depending on fitness
Route // An out-and-back trail
Cost // Mandatory tours are $28 per person with entry fee
This Is A Long, Difficult Hike
Okay, first things first - this is not an easy hike. In fact, out of the many mountains and volcanoes we’ve climbed on our travels, this ranks up there amongst the most difficult (more so than the Lost City Trek, Inca Trail, a bunch of peaks in Huaraz and the Dolomites, Ben Nevis, and the challenging Colca Canyon).
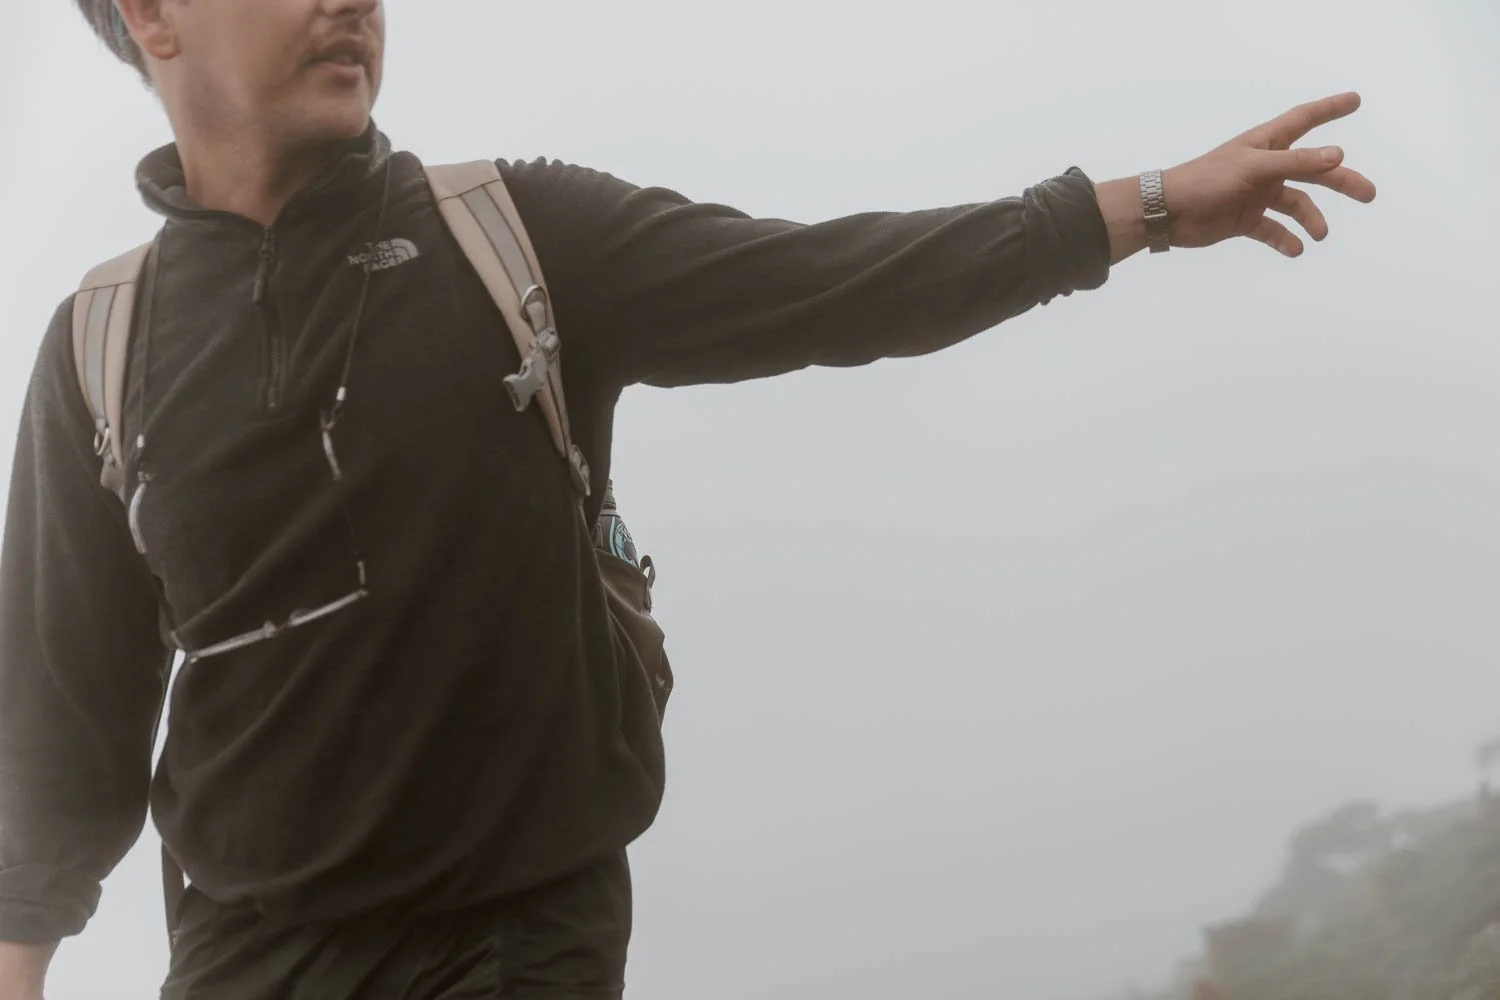
Frustratingly, this isn’t because the hike itself is particularly complicated, at significant altitude or requires special equipment, but more so that the last 600 metres up are, well, all bloody up! The constant 45-degree angle provides no respite on the ascent and punishes your knees on the way down. Throw in very strong winds, poor visibility plus the uneven, unstable, rocky, slippy-under-foot terrain, and you may well find yourself clambering along certain stretches on your hands and knees (there’s a reason your guide will come prepared with good gloves for the group!).
There’s a reason our thighs burned for two days afterward in ways and places they haven’t burned before.
Despite this, we were actually quite surprised to discover over drinks later that night with a local guide that the vast majority of people don’t make it all the way to the top, with around 70% choosing / failing to make it past the mirador plateau at the 1000m mark.
Part of it may be due to lack of hiking experience or physical health, but we reckon part of it is also due people being overwhelmed by the challenge of Concepcion in comparison to other, far easier volcano hikes in Central America.
This is a tough hike.
The point of this section isn’t to put you off giving it a go; those that complete it will feel an enormous sense of achievement. It’s more so that you can manage your experience and decide for yourself whether it’s something you really want - and are able - to do.
It’s a decision that’s much better made now, rather than whilst you’re halfway up the damn thing!
Another important thing to note is that not only is Concepcion Volcano a very tough hike, it also takes a very long time to complete (despite only being 12 kilometres there and back!) with even the fittest, fastest hikers taking at least eight hours!
We were picked up from our hostel at 6.30 am, began walking at 6.45 am, reached the summit five hours later and were back where we started four hours after that. For anybody struggling with the maths, that means it took us nine hours to hike Volcan Concepcion! And we’ve heard of it taking some groups even longer.

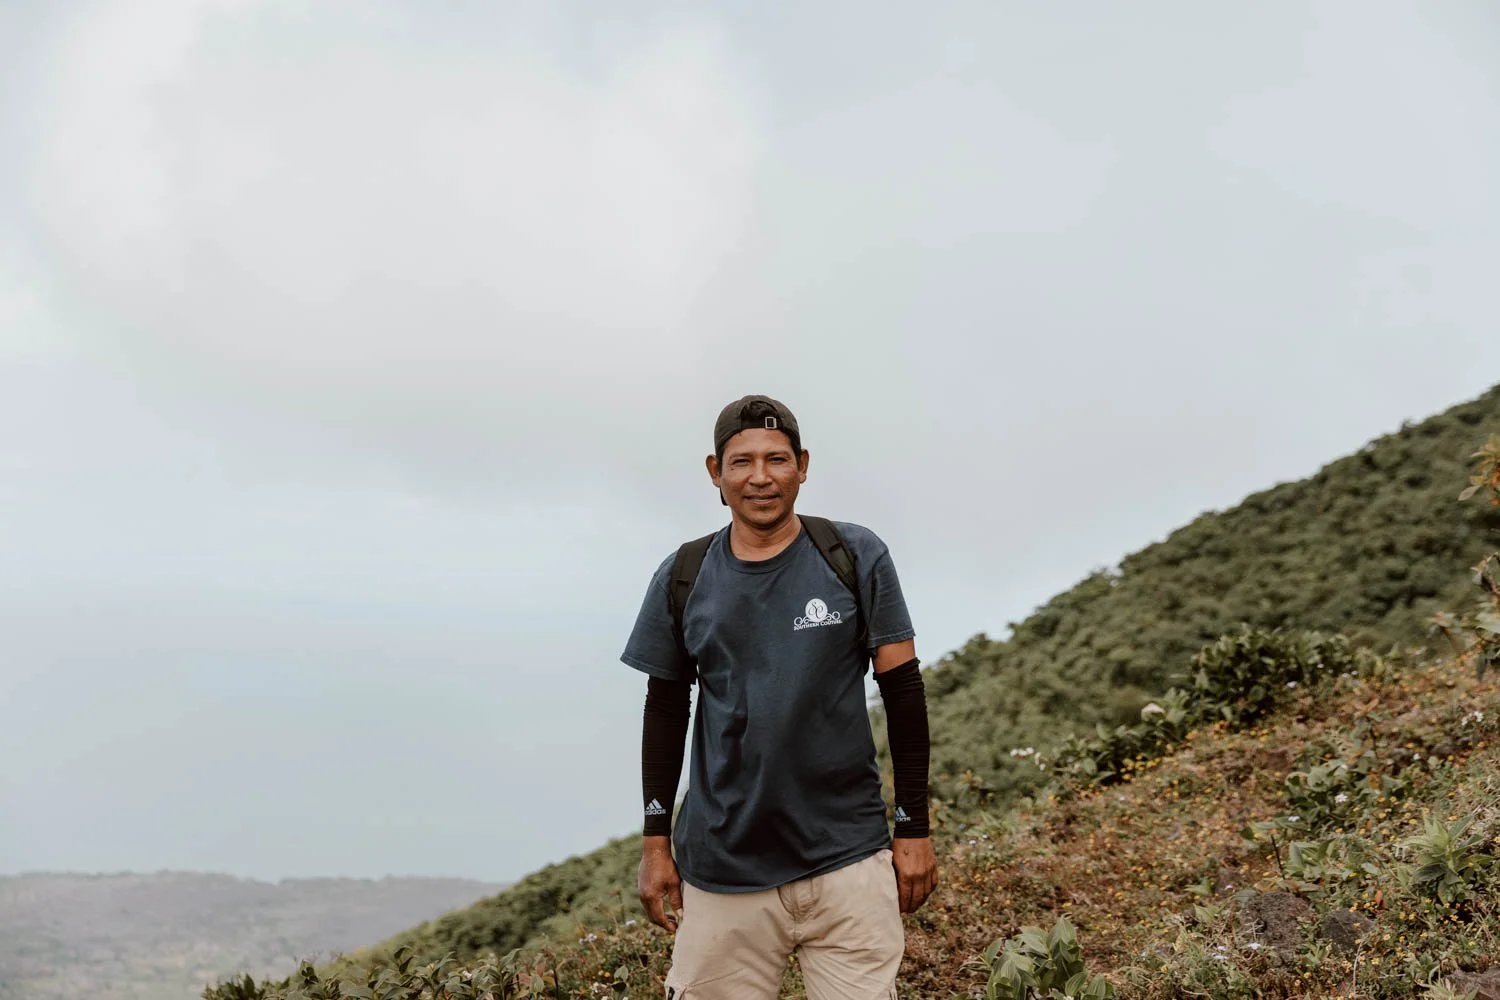
You Need a Guide
We are big fans of independent adventures, and prefer to do things by ourselves when possible, responsible, and sustainable. With Volcan Concepcion however, heading up to the summit is not something you can - or should - do by yourself.
Being accompanied by a registered local hiking guide is mandatory for anyone hiking up Concepcion.
As we mentioned above, parts of the trail are pretty sketchy, and without someone who knows the way (especially in bad weather) it would be very easy to go off course and potentially, over the edge. Yes, yes, there’s a route on maps.me and AllTrails and there’s probably a bloke in your hostel right now saying he did it two days ago on his own, but that doesn’t reflect the serious and treacherous conditions one can potentially face around the summit. Also, there’s barely even a trail you can see for most of this hike, with no markings or signage.
On top of this, upon reaching the summit our guide was very keen to point out that there is a large, deep crack at least three metres long leading from the crater edge and intersecting with the trail. Worryingly, it is not a case of if, but when this crack will travel deeper and lead to a partial collapse of the crater rim - taking with it anybody who happens to be standing there grabbing their ‘I reached the top!’ photo.
Knowing where to stand to avoid this could be worth its wait in gold!
On an even more serious note, there have been several deaths and serious injuries over the last five years from travellers attempting Volcan Concepcion independently, and whilst there is an emergency search and rescue team, the service is somewhat basic. On this island, you’re also a long way from the nearest specialist trauma medical facility.
Lastly, engaging an inexpensive local guide is a fantastic way to directly and positively contribute to the tourism economy on the island, and can enhance your hiking and learning experience too.
Additionally, any traveller attempting to climb Concepcion should only do so with adequate travel insurance. Any significant injuries would almost certainly require an airlift to Managua which would work out pretty pricey without good coverage - find out more here.
Yes, It’s An Active Volcano
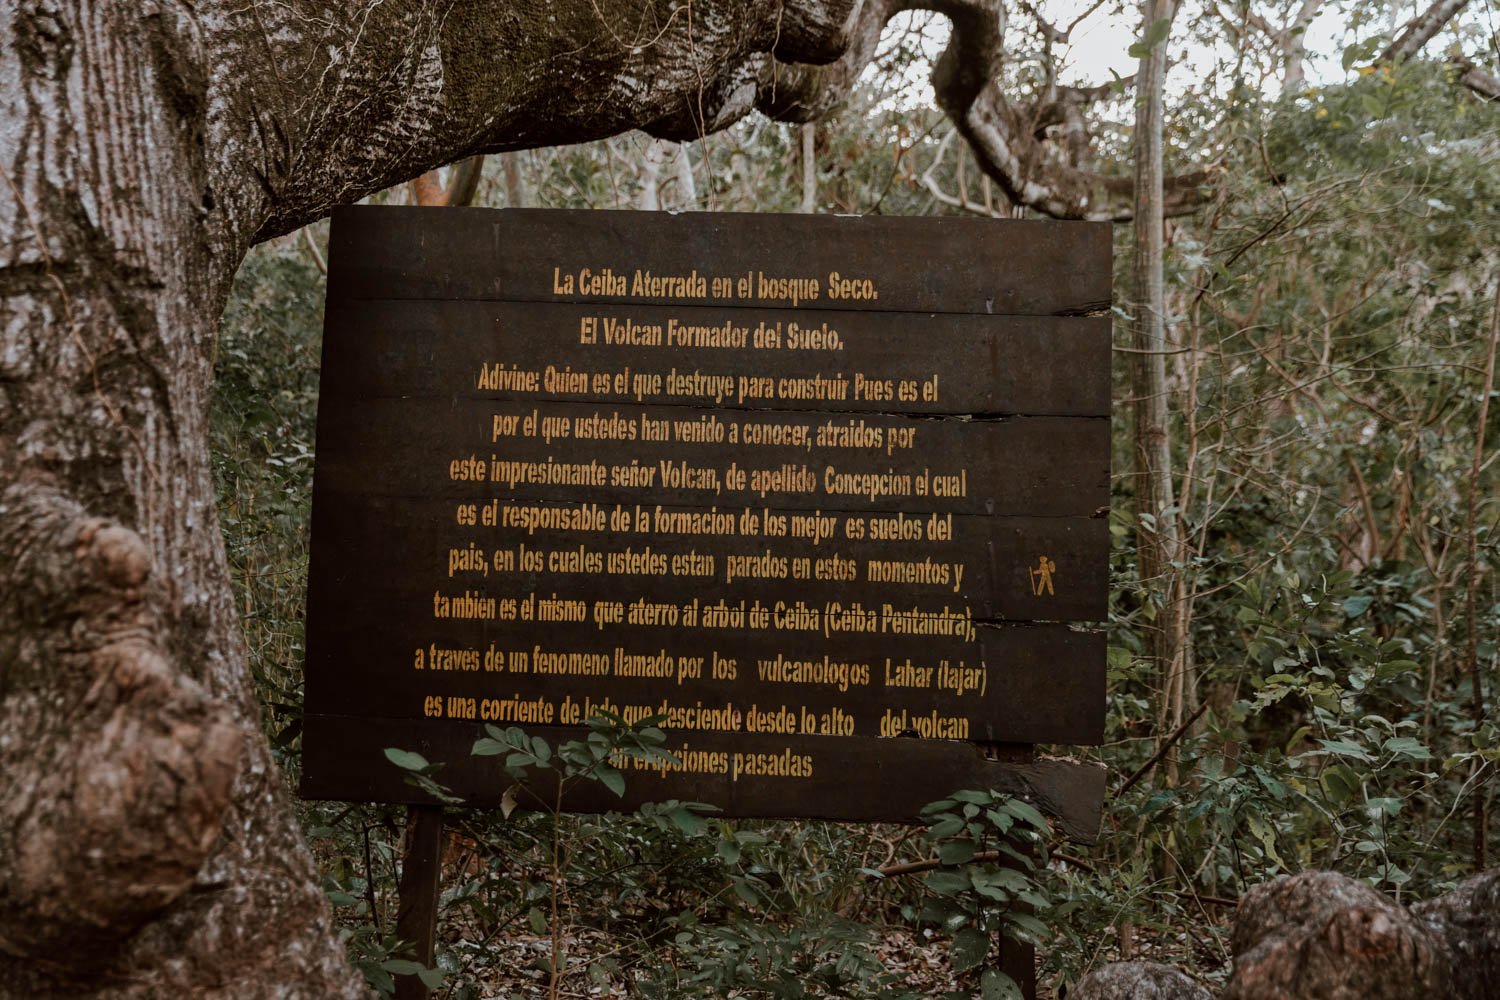
Whilst Concepcion’s last big eruption was way back in 1883, since then it has erupted at least 25 times. The most recent event was in 2010, when a two kilometre ash plume rose up into the air (you can see a video of it here if you want). That eruption also raised the side of the volcano by quite a bit too, which you’ll see quite clearly at the giant ceiba tree where the majority of it us under the ground.
Since then, she has remained rather quiet. Indeed, it is not until approaching her crater, when the scent of sulphur fills your nostrils, and the rocks upon which you scramble become uncomfortably warm that you are reminded that the old girl is very much alive.
We’ve visited and hiked an inordinate number of dormant and active volcanoes in Central America and Europe, and this activity is never risk-free.
Nobody knows when the next eruption will come, but it will come.
Travel Tip | You can also hike up Maderas, the smaller sister of Ometepe’s volcanic duo. Most travellers have to choose one of the two, rather than summiting both during their stay, and there are a few different factors which will shape your decision. Read 13 Wonderful Things To Do in Ometepe for more information to help you pick.

The Price Depends on the Size of Your Group
Doing this guided hike as a solo traveller will cost around $40 USD, but the price drops to $25 USD per person if there are at least two people in your group. If you’re a solo traveller booking via your hostel or a tour company, they usually phone around to try and put a group together to lower the cost for you.
Officially, the guide association caps the number of hikers at six per group.
If you’re a group of five or six, you may be able to agree a rate that’s lower than $25 USD per person, but it’s not guaranteed and may require a bit of negotiation.
In addition to the tour cost, you also need to pay a $3 USD entry fee to access the national park within which Concepcion sits, and this will be charged on top of the tour price. Its paid at the little hut at the park entrance.
It’s worth pointing out that the company we went with charged this up front in the tour cost, but we arrived to the little hut before the warden. We still don’t know whether this was pocketed by the boss or paid later…
Tours can be arranged by your accommodation, in one of the many travel agencies around the island (most of which are found in Moyogalpa) or can be booked in advance online. We stayed just outside Moyogalpa at Hostel Life is Good who were really helpful setting things up for the right price, but you can also book the same tour we took here (do note that it costs twice as much as you will pay once you’re actually on the island).
We were on Ometepe in February 2022, and it’s worth knowing that you could book your hike spot by 6 pm the day before - especially useful if the weather forecast is looking a bit unpredictable.
Our tour collected us at 6.30 am outside the hostel in a car, bringing us the 10 minutes or so to the startpoint. It’s worth knowing that if you stay on the Maderas side of the island (at several of the popular hostels and eco-lodges we mention in this Ometepe accommodation post), your pick-up time may be earlier and your travel time will be around 30-45 minutes by car. We also met a guy in Honduras staying that side whose guide didn’t include private transport, meaning they took one of the infrequent public buses to/from the startpoint and subsequently he had to wait for three hours at the end of the hike to get a ride back.
If staying on that side of the island, it’s therefore worth asking in advance about transport options.

The Route Up Is in Five Distinct Sections
The route to the summit is broken down into five very clear sections, all with varying climate, terrain and challenges. As a profile gradient, just trace the shape of a big ass volcano and that’s it - all up from 93 metres above sea level, then all down all down from the crater at 1,610 metres, save to a little flat part to savour at 1,000 metres.
The First Section
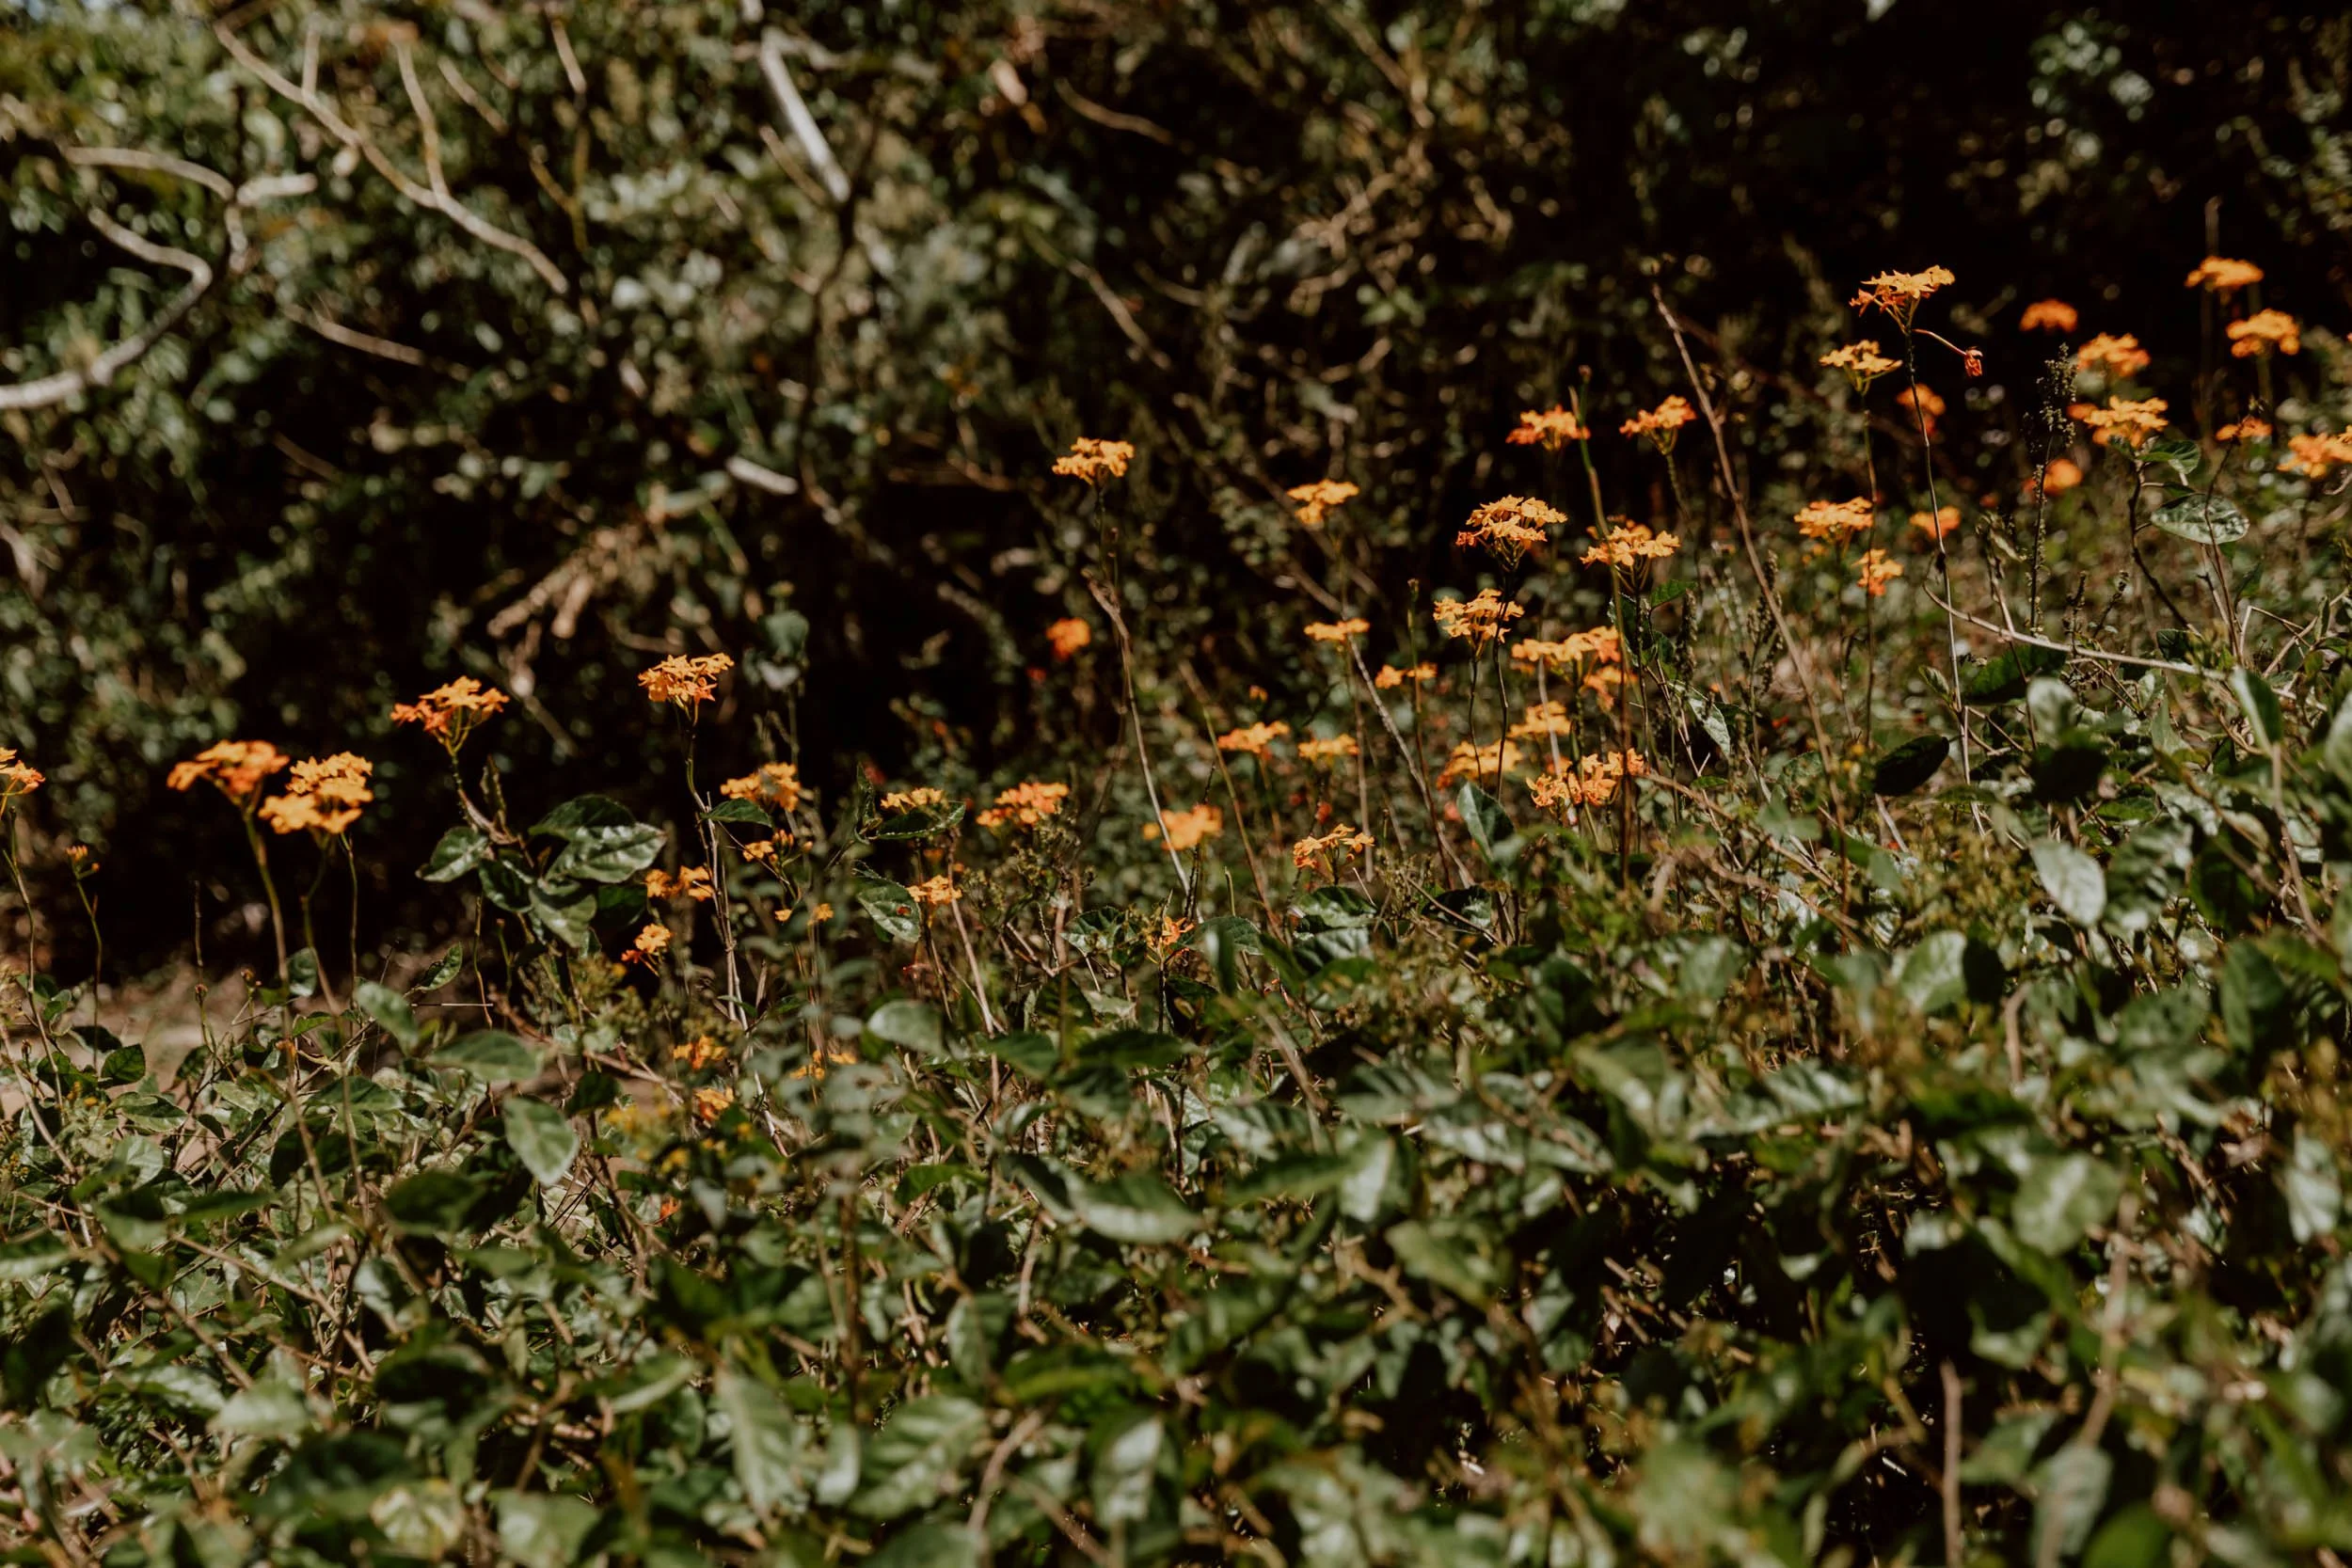
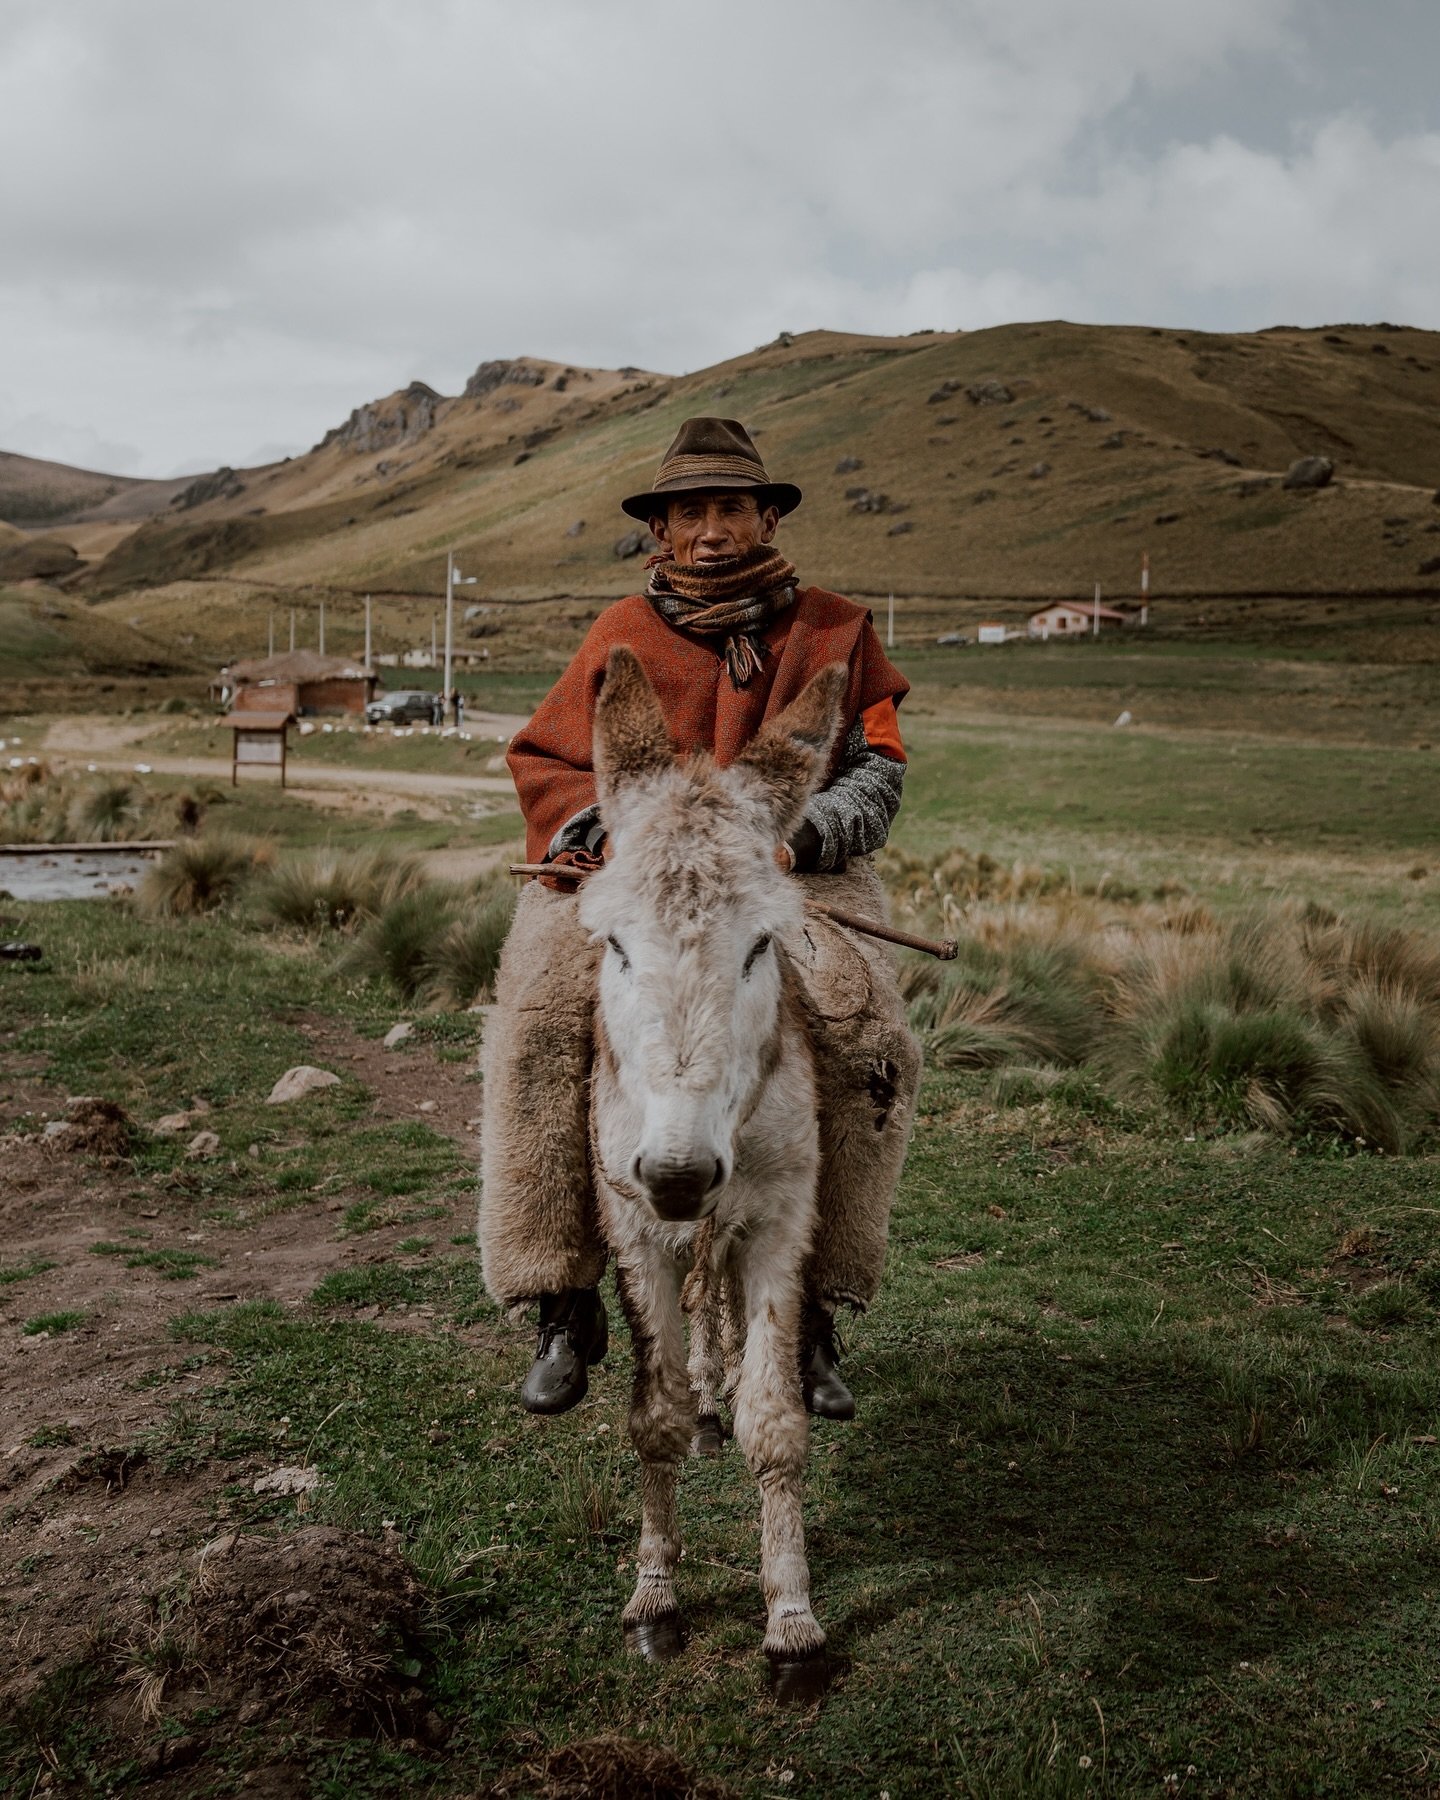
This is a relatively flat and dusty trail used by men on horseback who farm the area. It’s also a fantastic place to spot local wildlife including colourful birds and monkeys (capuchins are common, as are howlers). This section should take around an hour to complete, and whilst there is minimal shade, the early morning start means you shouldn’t find it challenging at all.
The Second Section
After a short break at a giant ceiba tree, it’s onwards through the tropical forest - and the beginning of the incline. The humidity starts to become a real problem here, and you’ll soon find yourself covered in a permanent slick of sweat and downing water.
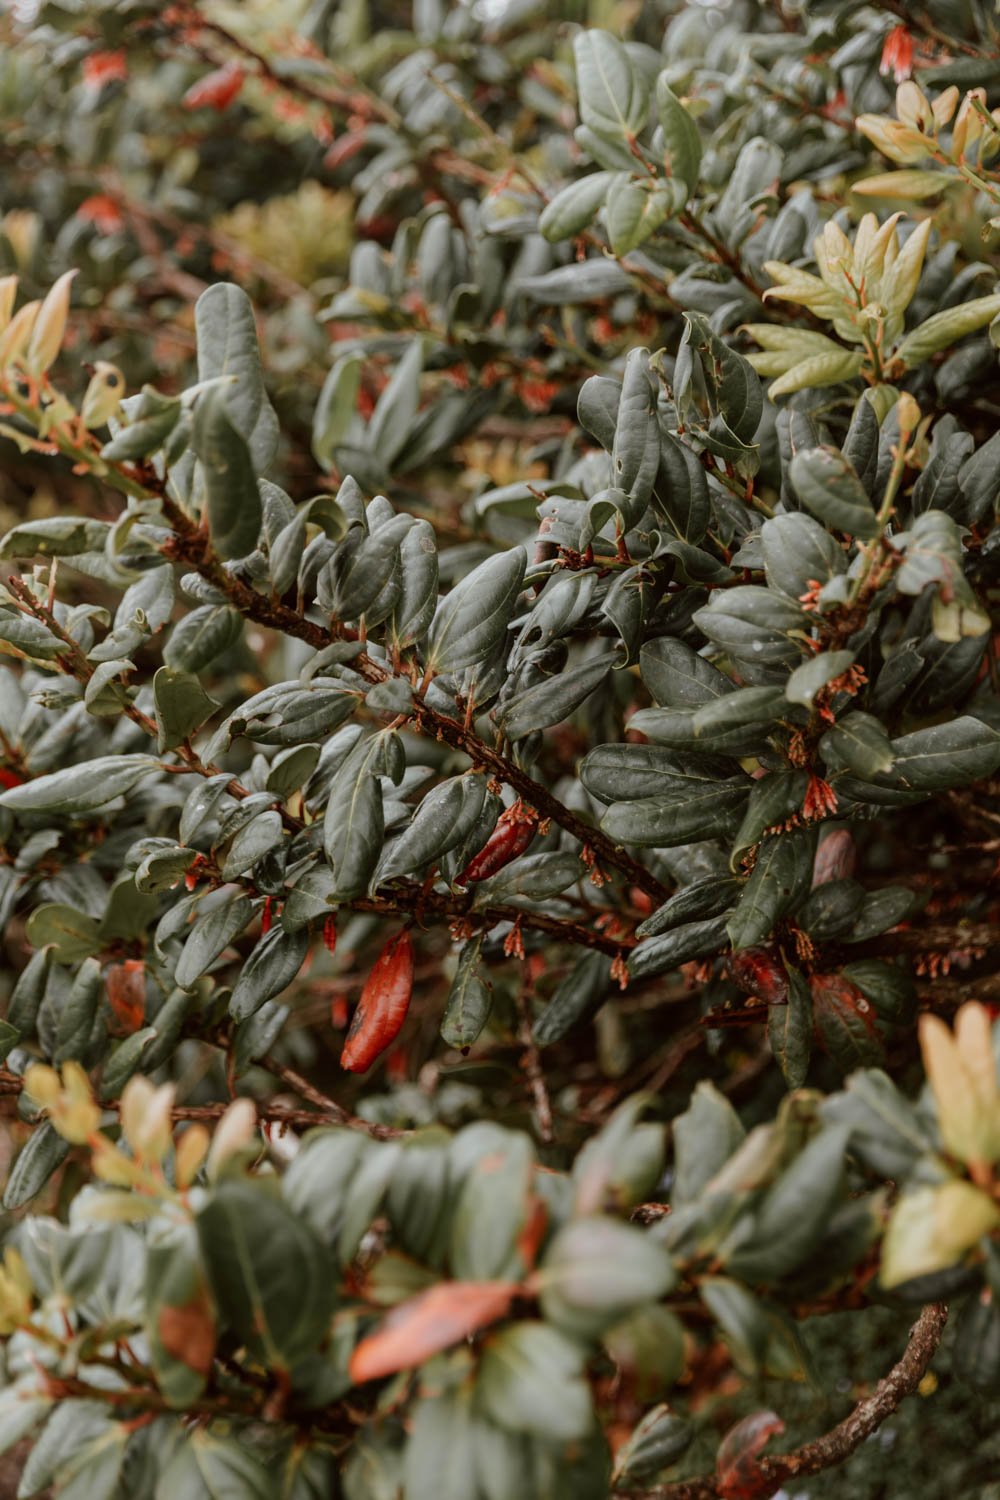
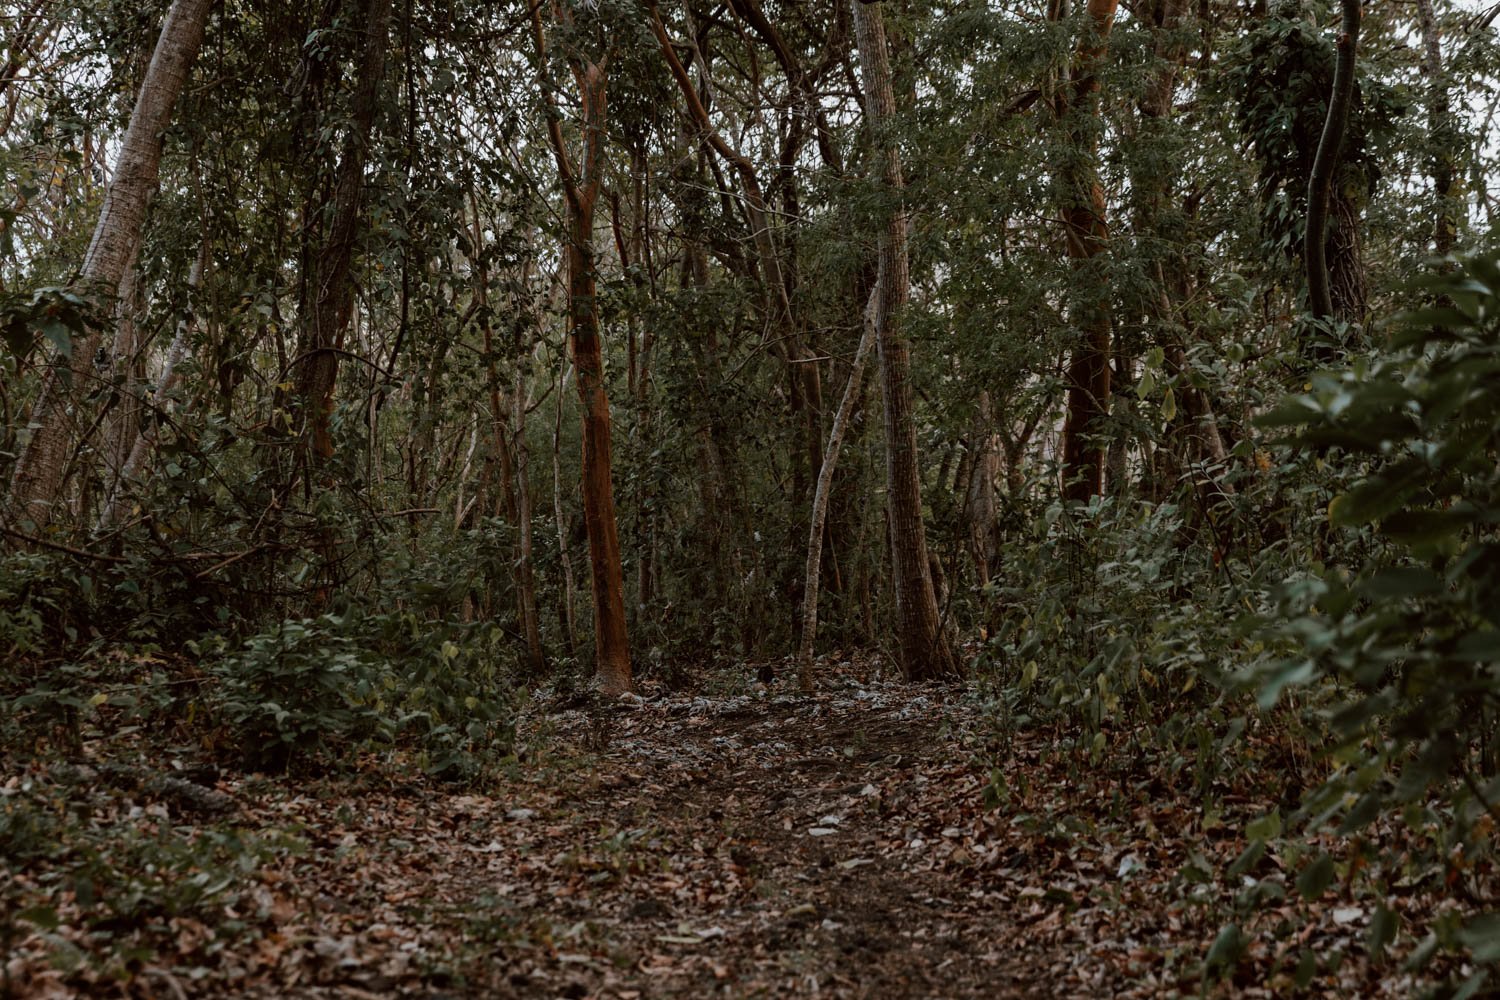
The Third Section
Depite being called the ‘dry forest’, you will feel anything but dry at this point. Expect a narrow muddy trail, a steeper gradient, cumbersome vines underfoot and lots of big steps up and over tree roots. We were absolutely drenched in sweat by this point, and although the temperature does begin to drop due to the higher altitude, the humidity is still very much a fixture. If attempting this hike in the rainy season, we imagine that this section is pretty unpleasant, and the trail could become treacherous in parts.
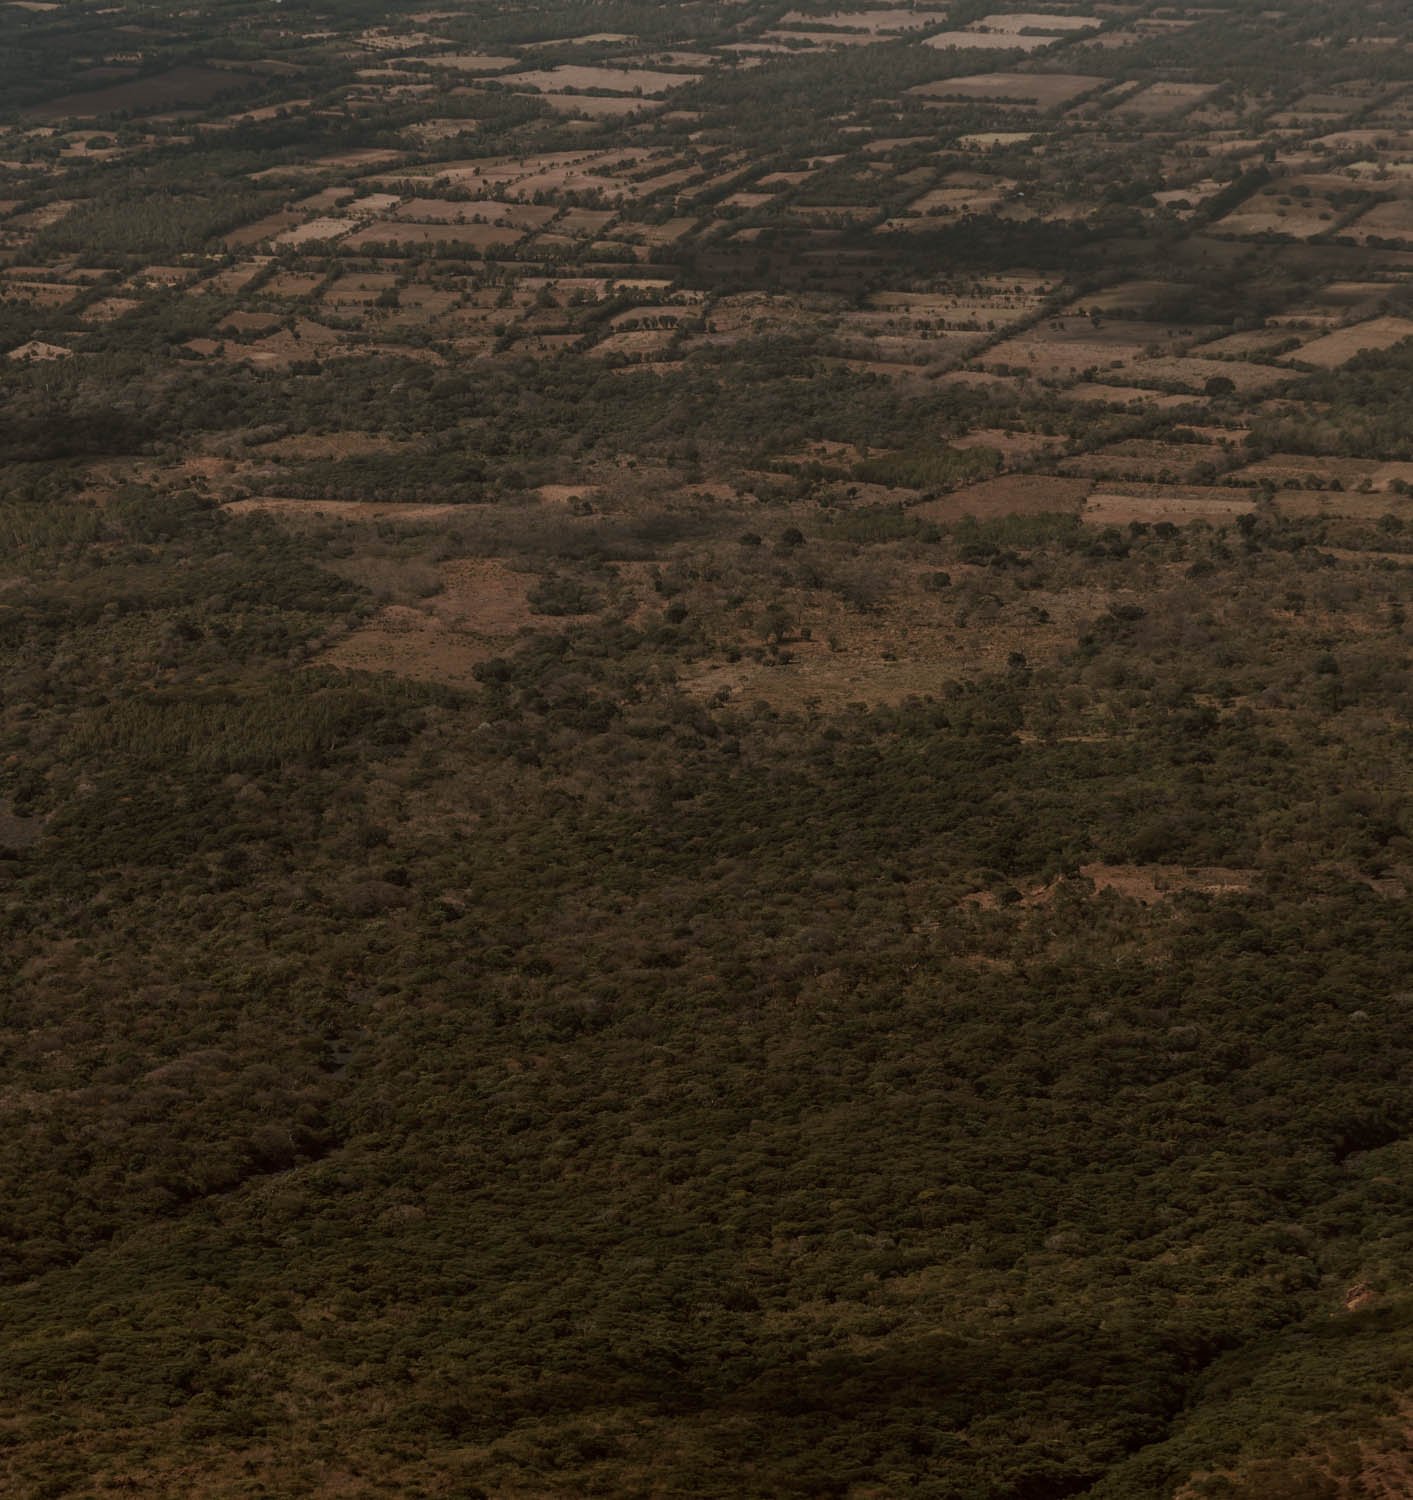
The Fourth Section
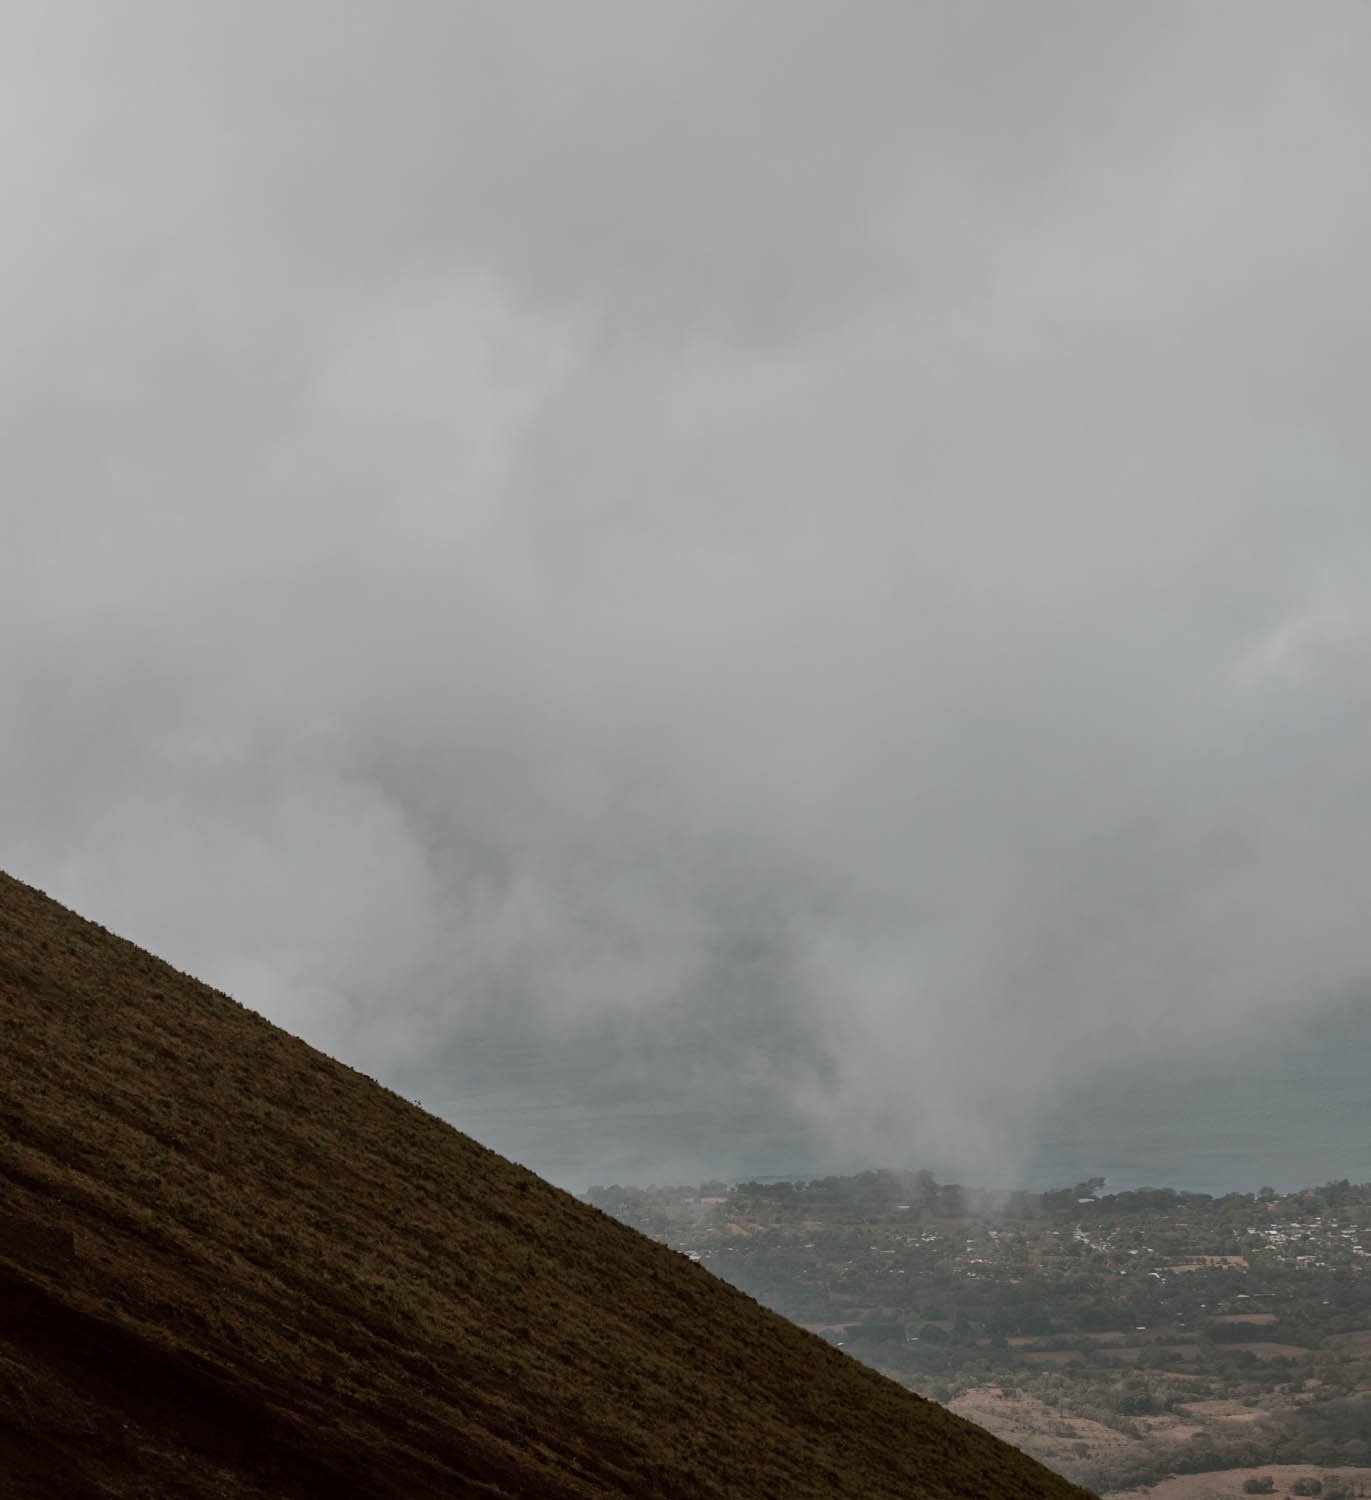
Also known as ‘the mirador’, once you reach 1000m you’ll find the vegetation opening up on to a grassy plain, with a spectacular view out over the fields of Ometepe below, Lago de Nicaragua ahead, and the mainland beyond. Or, if hiking on a particularly cloudy day like us, you’ll see nothing but rolling mist and a few metres ahead (thankfully, we got the views on the way back down!). To be honest though, being at the level of swirling clouds and mist was pretty special too.
We reached the mirador around 2.5 hours after we began the hike, and then took a much needed 20-minute break for the group to have a spot of lunch (or some crackers, in our case). Be sure to chuck on an extra layer and prepare your legs for the next bit.
According to the guide we had drinks with that evening, the mirador is also a good spot to call it a day if you’re really really struggling and don’t think you’ll manage the next, most difficult part of the hike.
The Fifth Section
Whilst the previous sections were all about battling humidity and heat, from mirador up it’s the trail and the gradient which will test your willpower and strength. Follow your guide closely as you creep and scramble up the summit, with the route and trail becoming less clear and more difficult to negotiate with each ascending step.
It’s a pretty remarkable terrain here: lava flow gulleys verdant with life and bloom, water from the clouds the source of everything even with fire below. On this section, our clothes, eyebrows and knuckle hairs were covered in water droplets as the aroma of sulphur become more prominent, and it’s vital you bring along an extra layer or two.
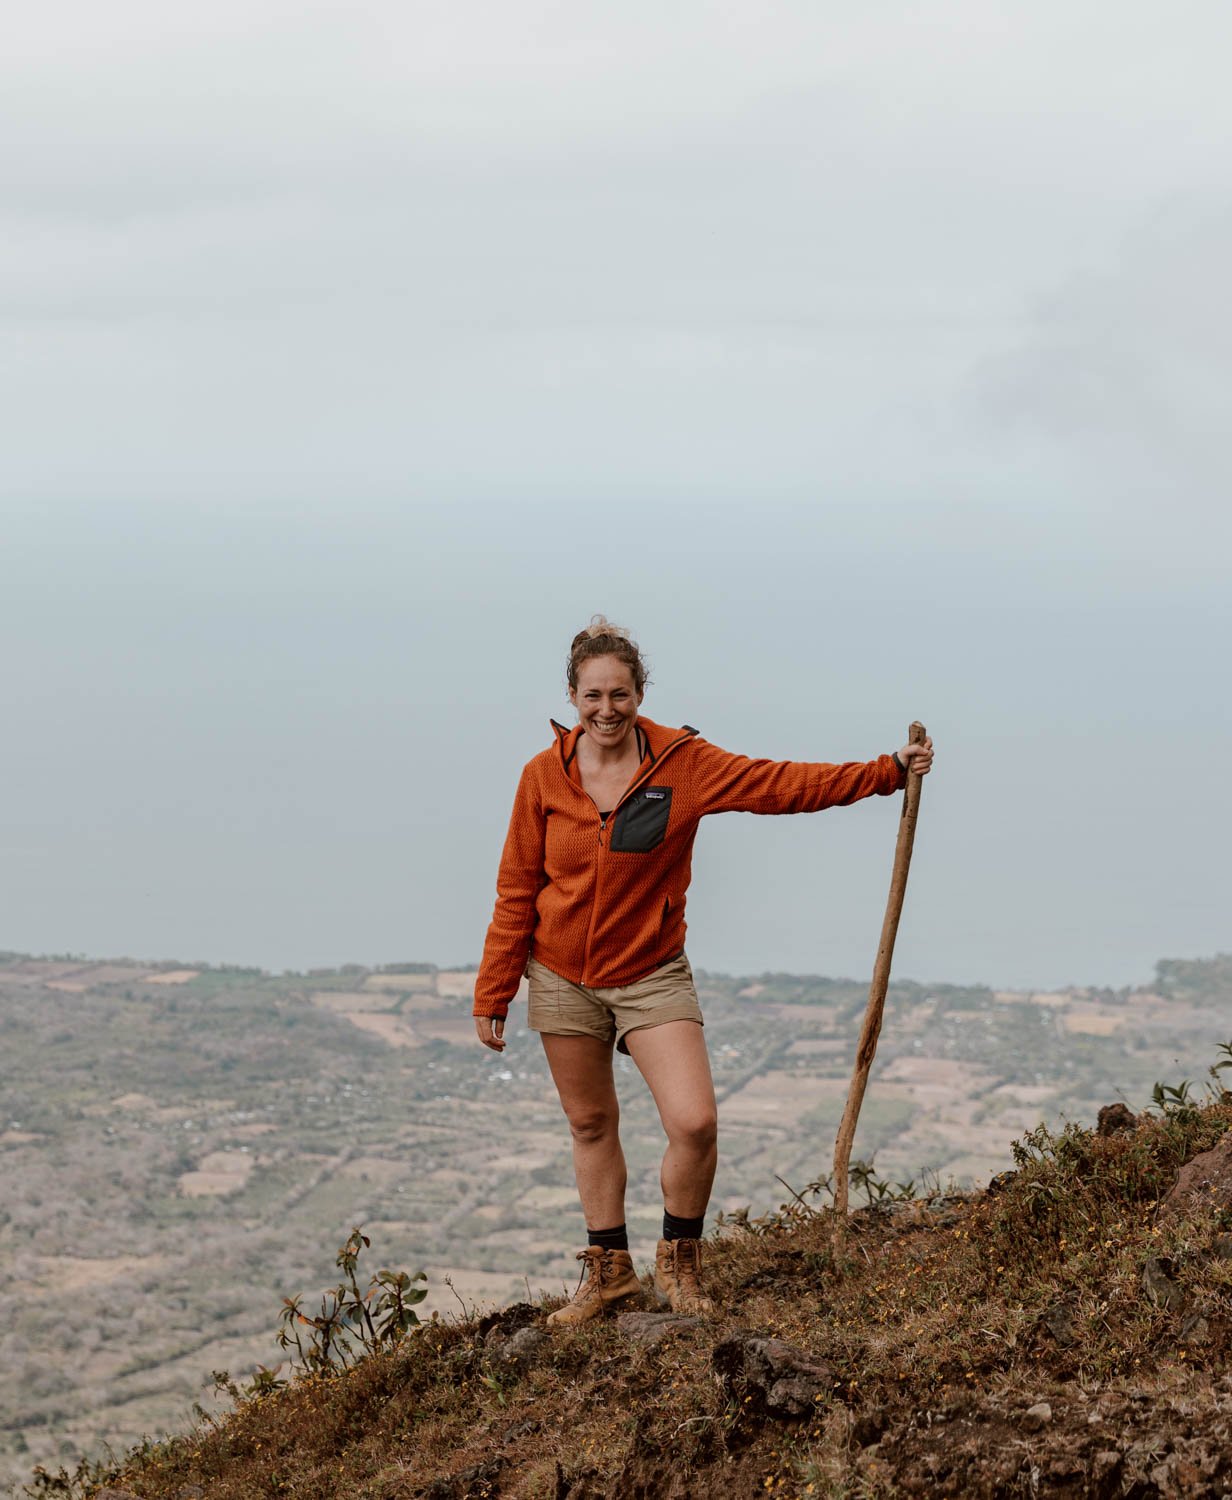
The Descent
As we mentioned earlier in the post, it took us five hours to ascend Concepcion, and four to reach the bottom. Post-mirador, the descent was much less challenging, however going back down to reach that 1000m mark in thick fog and strong winds was difficult to say the least. If you’re struggling, like Emily was, be sure to keep the guide in sight to follow his path, stick to the larger rocks, and use a large stick to take some of the weight off your knees.
Although there is another way…
During your research into Concepcion Volcano, you may hear mention of an alternative route up to the crater.
However, most of you won’t take it.
It’s not that it’s more difficult or significantly longer, but simply that much more of it will follow a trail that is completely unshaded. And as anyone who has hiked in Nicaragua will tell you, hiking in the sun is not a pleasant experience!
Some guides will suggest it for the return journey back, but we’ve never actually spoken with anyone who has personally done it.
Travel Better | 13 Wonderful Things To Do in Ometepe

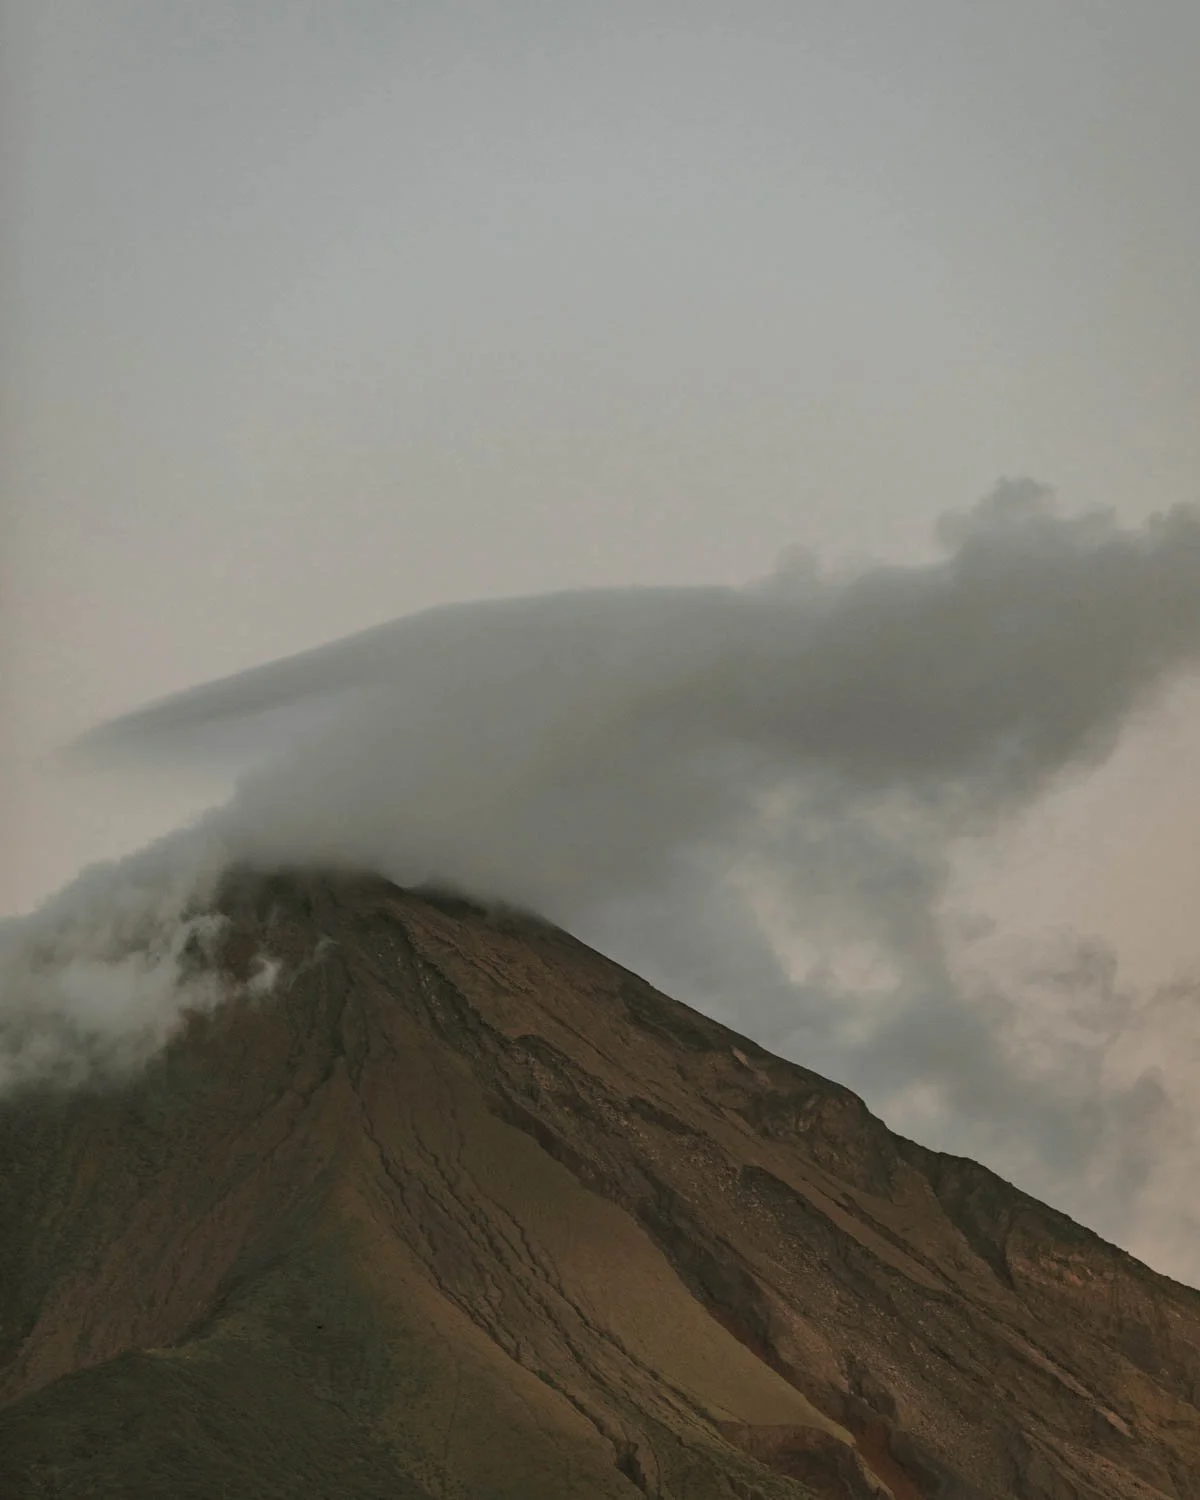
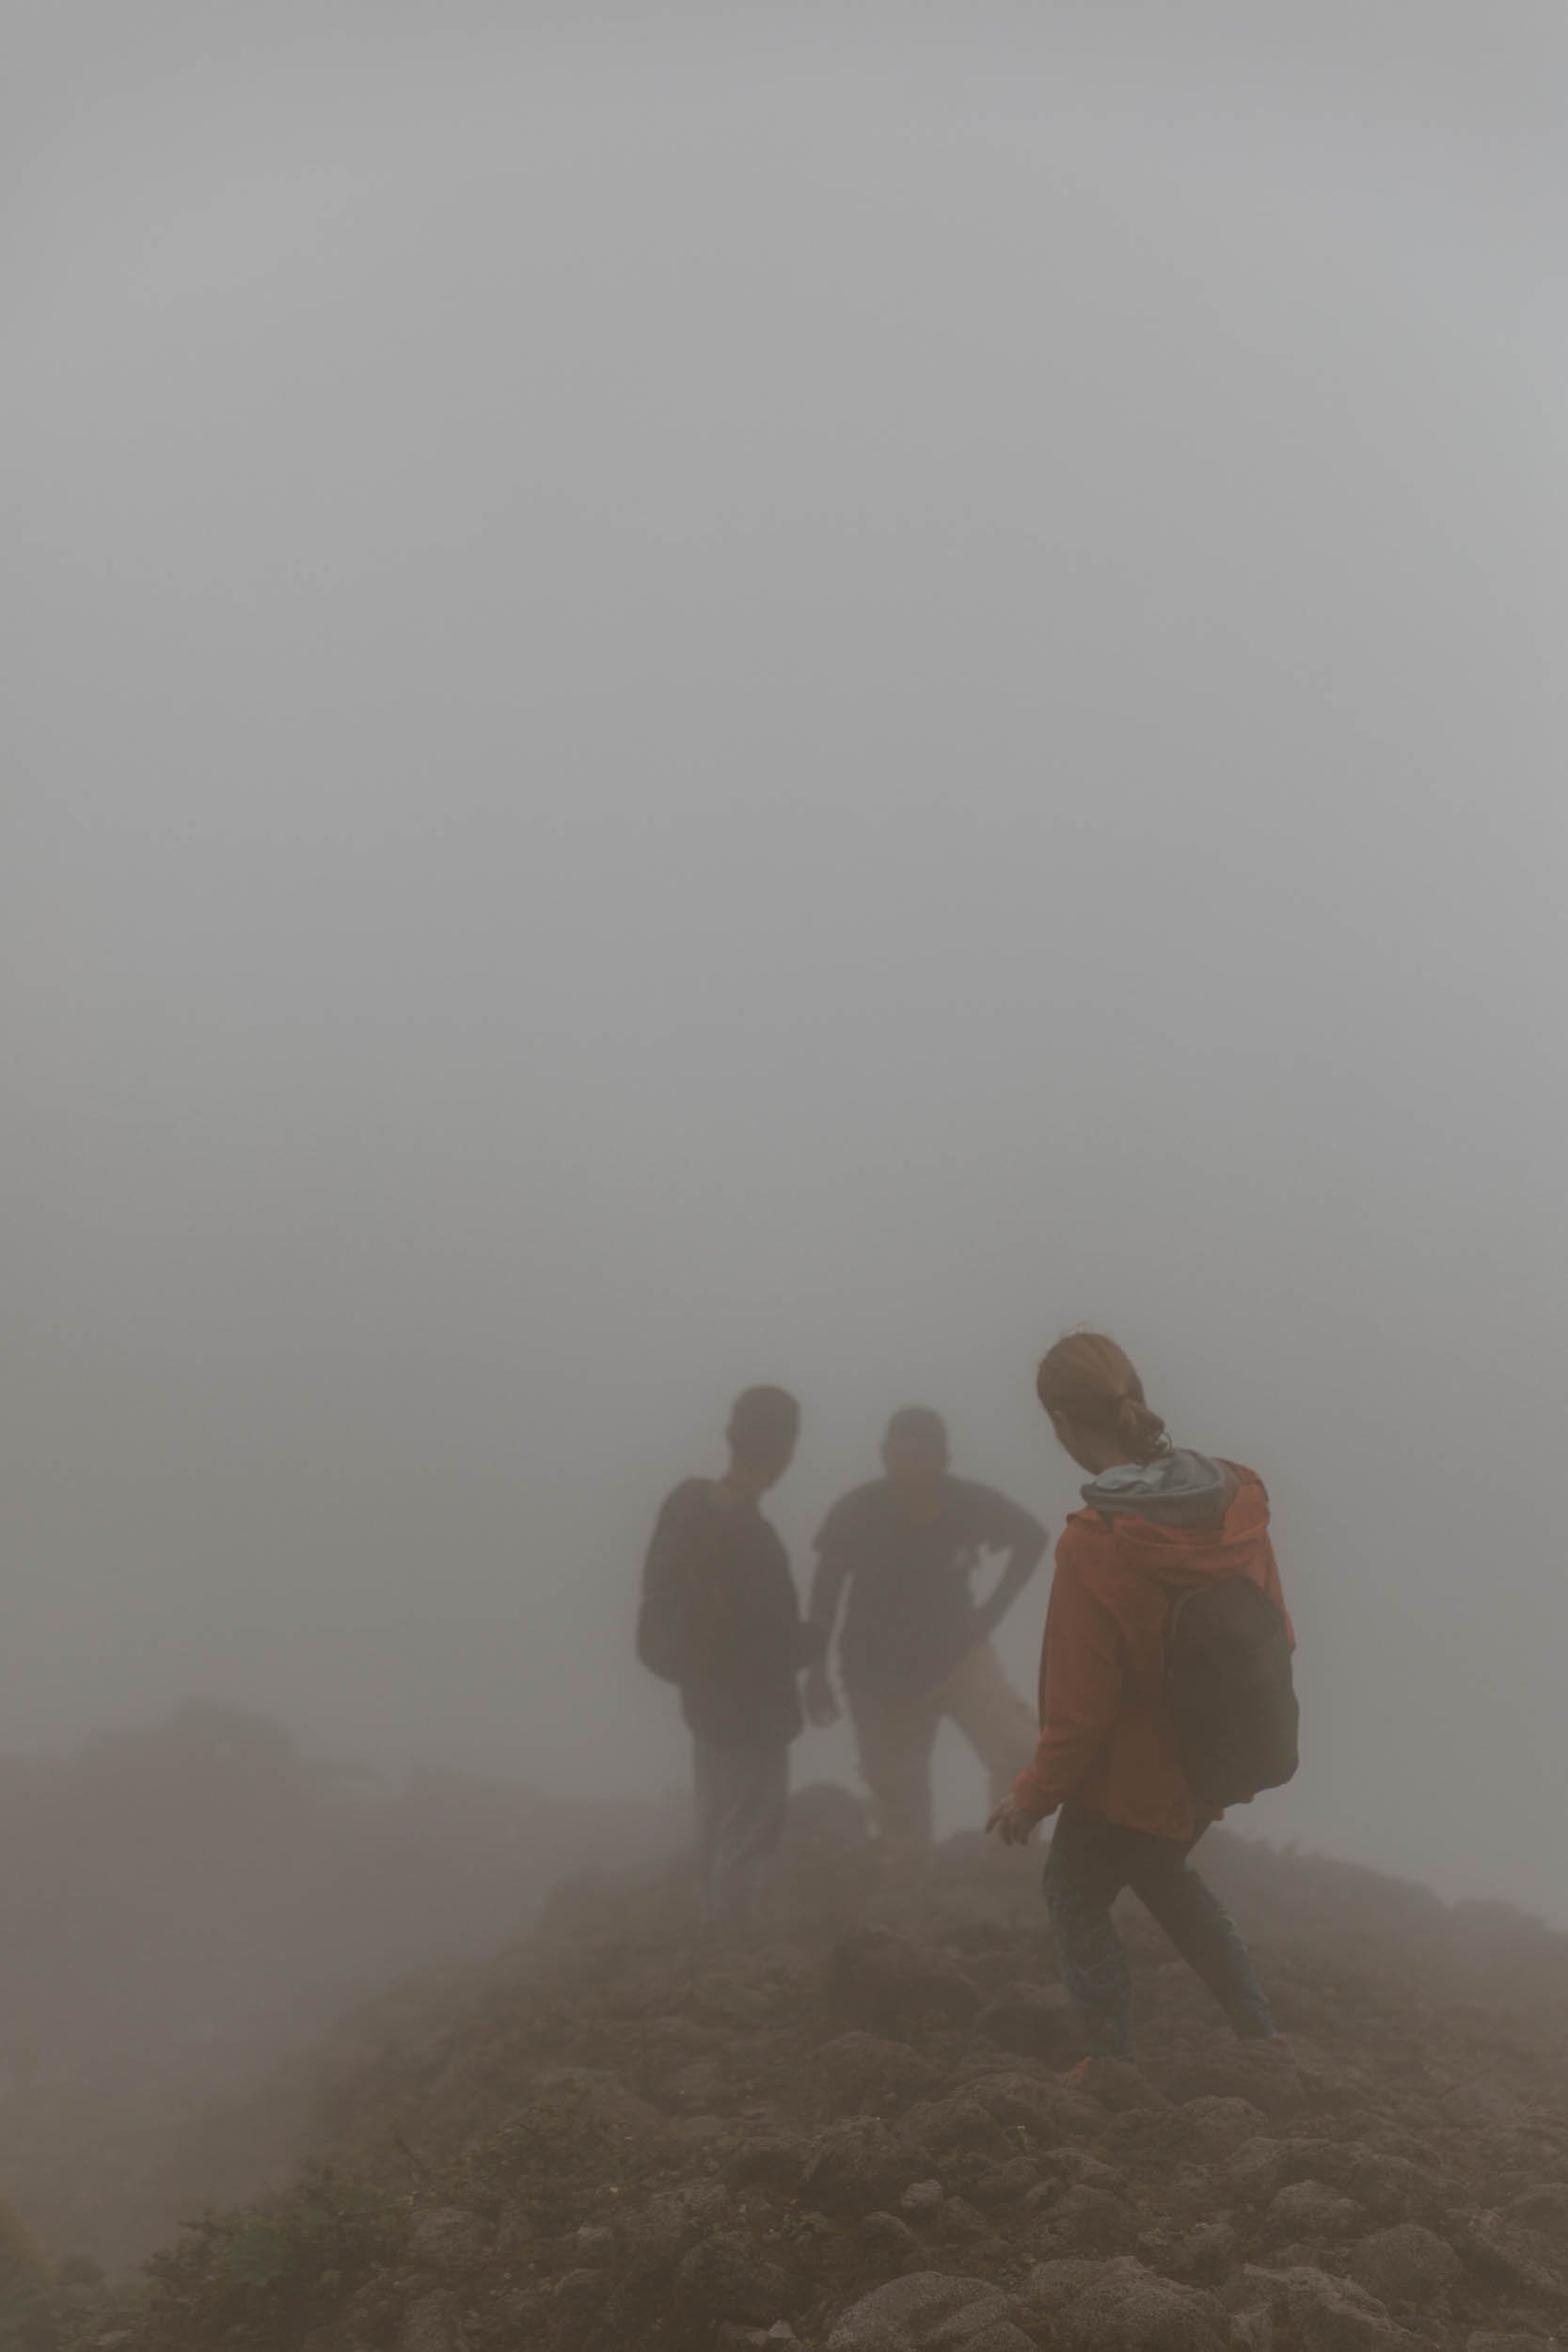
The Views are Not Guaranteed
You may have noticed from the photos in this article, that we did not complete this hike on a clear day. In fact, the significant cloud cover during our ascent beyond the 1000 metre threshold meant that we spent at least a couple of hours barely being able to see our entire group.
And the cloud remained long after we left the summit. It’s a shame, as one of the reasons Concepcion is often chosen over Maderas is the incredible views on offer for those that make it to the top.
Thankfully, the clouds did begin to clear on our way down, and boy did our weary souls appreciate a glimpse beyond the lake!
Whilst we wouldn’t recommend altering your plans for a bit of cloud, we would however advise keeping an eye on the weather forecast in case there’s a lot of rain expected or there’s been a deluge over the previous days. Hikers can and do summit Concepcion during the rainy season, but it would certainly make sections of the climb significantly more tricky - definitely a concern for any of you out there already umm-ing and ahh-ing about whether you should take this hike on.
Although hikes should be a challenge, they shouldn’t make your miserable.
Lastly, our drinking buddy guide told us that Concepcion hike will only be cancelled due to storms or very high winds, and you may only be told about this on the morning you’re due to set off.

Bring Plenty of Water…
For the first couple of hours of the hike, you are climbing onwards and upwards along dusty roads in direct sun, through banana plantations and dry forest. It is insanely hot and completely exhausting and you will sweat like you didn’t believe possible.
For this reason, it is imperative that you carry enough water to stay hydrated.
We were advised to carry three litres per person, and found this to be adequate.
As we’ve discussed countless times across many blog articles, we swear by our travel filter water bottles and try to keep our plastic usage to the bare minimum. After a few hikes of near complete dehydration however, we’ve realised that staying safe is more important than the complete elimination of single-use plastics. You may hate yourself for buying big bottles of water (we know we do), but when hiking Concepcion Volcano it is completely essential to add these to any reusable bottles you usually carry!
Additionally, you should bring a packed lunch or snacks with you. We personally prefer to hike on relatively empty stomachs and gorge later, so just opted for some bananas, crackers and a couple of cookies each, but if the possibility of getting hangry may effect your ability to complete this trek, be sure you’re prepared!
There is no shop (formal or informal) at the trail head, so it’s important to buy all your drinks and snacks the afternoon or night before.
…And The Right Gear
Whilst the first half of the ascent is indeed viciously hot and sweaty, once you pass beyond the mirador at 1000 metres, the temperature will start to drop, and that soaked vest will soon make you feel horribly cold; a decent fleece or thermal layer will be greatly appreciated, and in particularly bad weather, a windbreaker/waterproof.
Additionally, this is not the sort of hike that should be attempted in anything other than proper hiking shoes or boots. Good grip and a degree of ankle support will be essential - something most running trainers just can’t provide.
Unlike our trips to South America, which are usually overwhelmingly focussed on hiking, we didn’t arrive in Central America with our hiking poles - but this is the one volcano climb we did where they would have been greatly appreciated by Emily’s knees! The good news is that people will usually leave solid sticks towards the entrance for visitors to use and return, but if you have proper hiking poles or your tour company has some spare, we’d highly recommend using them on this particular trail.
Travel Better | Find out our backpacking kit essentials

Be A Responsible Traveller
This is a section that we include in pretty much every hiking and outdoor post that we write - but it’s one of the most important. It sometimes easy to forget that being able to travel the world, enjoy incredible views and take on epic hikes is a huge privilege, and it’s our responsibility to leave trails and beauty spots exactly how we found them.
Here are some simple tips everyone should follow:
· Bring out what you take in and leave no trace. Whilst this obviously includes plastic bottles, crisp packets, sandwich wrappers, it also extends to banana skins, apple cores etc. Whilst within the lower stretches of the trail, these will degrade fairly quickly, higher up organic matter will remain for quite some time - becoming an eyesore to fellow hikers for up to two years!
· Stick to the trail. On this particular hike, the reasoning for this is two-fold. Firstly, by not trampling away from the common path, you are maintaining the natural environment around it but from a personal well-being point of view, the path is the safest place to be!
· Know your own limits. As we’ve mentioned a few times in this article, this is a tough hike and if you don’t think you’re physically up for the challenge, don’t take it on. This is for your own benefit as well as your hiking buddies who may be forced to turn around if you can’t reach the summit. If you really aren’t sure if you’ll make it, but want to give it a go, consider heading out with just you and a guide, That way, if you need to turn around, you won’t disappoint anyone else.
· Don’t hike without a guide. It’s illegal and it’s stupid.

Where to Next?
13 Wonderful Things to Do in Ometepe
Essential Things to Know Before Visiting Ometepe
The Ometepe Ferry | Schedules, Tickets and Travel Tips
How to Get From Ometepe to Granada
How to Get From San Juan Del Sur | Without Getting Ripped Off in Rivas
13 Wonderful Things to Do in Nicaragua
23 Things to Know Before You Visit Nicaragua