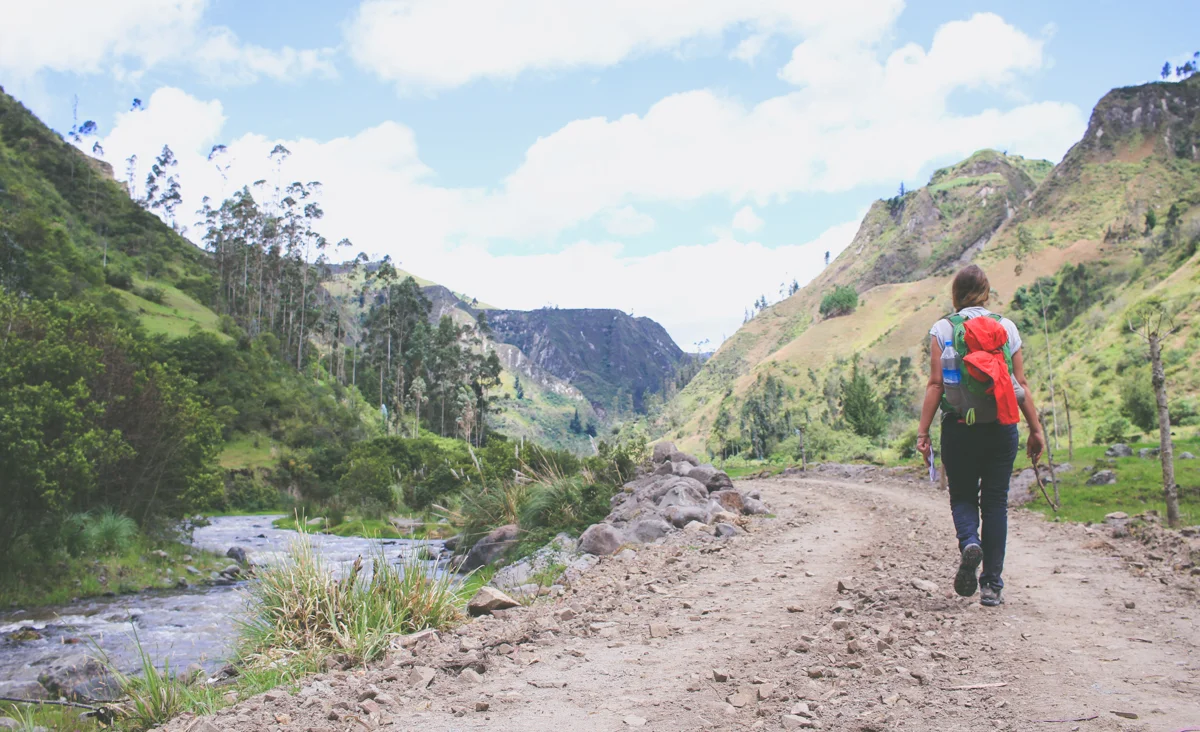
The Quilotoa Loop in Ecuador is a fantastic adventure for those of you who like the great outdoors and off-the-beaten-track travel. Often forgotten or sacrificed by those only in the country for a few weeks in favour of the Amazon, coast or Galapagos, it should be an essential part of everyone's itinerary who is lucky to be in the country for longer.
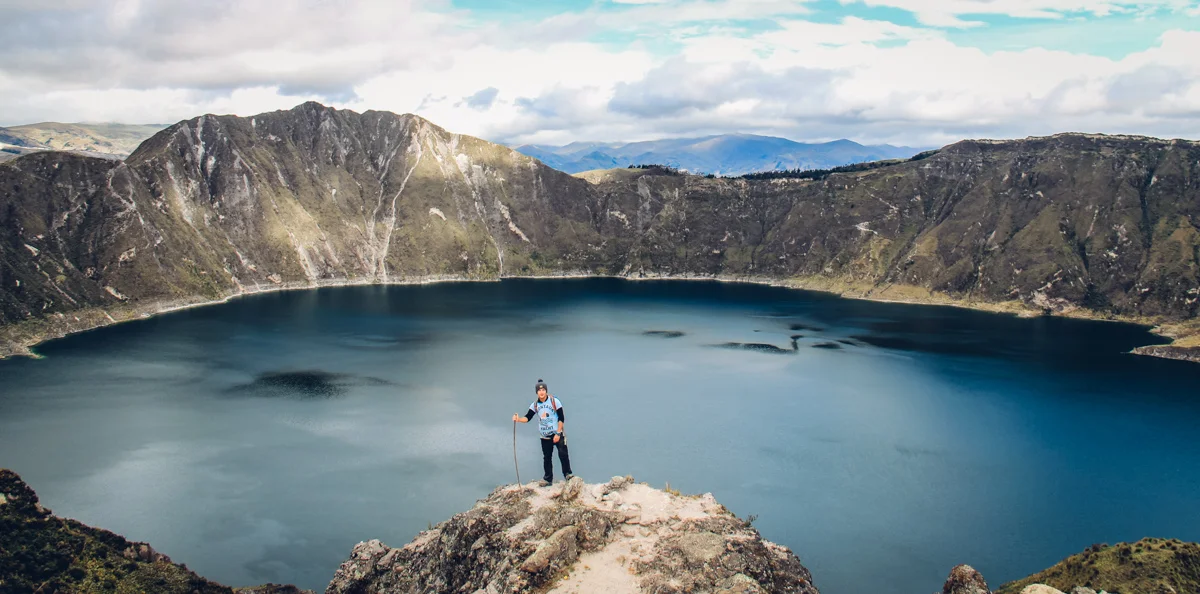
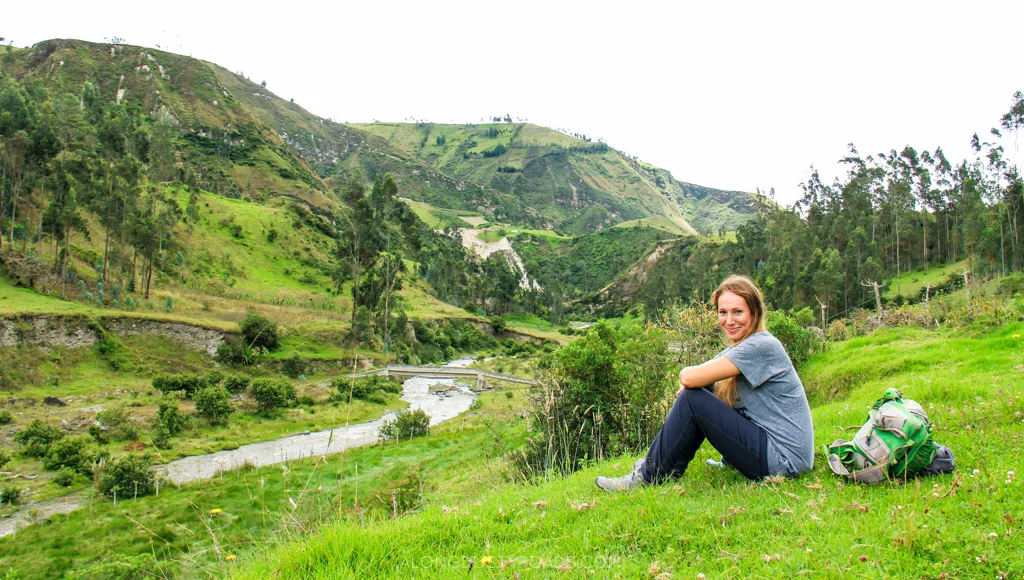
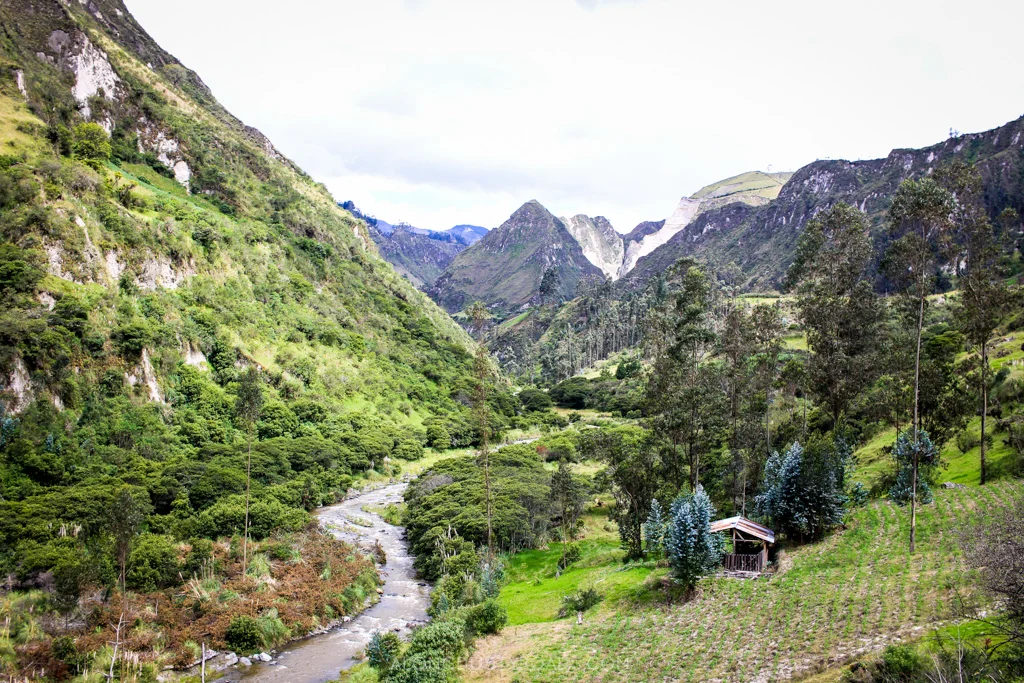
So, what is it exactly? Well, it's a three to five day self-guided hike through the Andean hills, rivers, valleys, vast countryside, a volcano, a crater lake, small Quechua communities, loads of farm animals, amazing nature, epic landscapes and cosy hostels.
It was also one of the absolute highlights of our time in Ecuador.
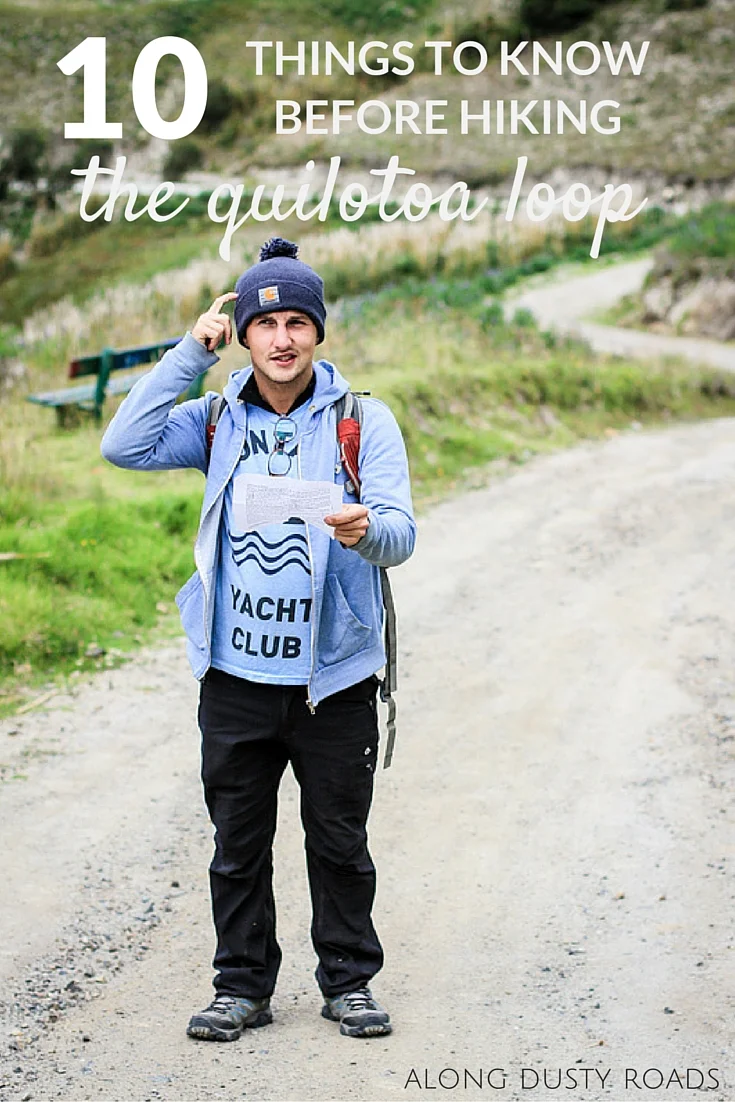
Here are ten things to know before you go.
#1 it's one of the best value trips in ecuador
Given that Ecuador isn't exactly as cheap as a number of travellers expect, a three to five day hike on the Quilotoa Loop presents tremendous value. Including all transport, food and accommodation, it cost us less than $100 USD each over five days - an absolute bargain. For those on a tighter schedule, and who forgo the odd $4 glass of white wine, it could cost as little as $70.
So why the hell would you consider going with a tour which charges more than $500USD per person!?
For more information on the costs of hiking the Loop, read this post.
#2 you should leave your bags in latacunga...
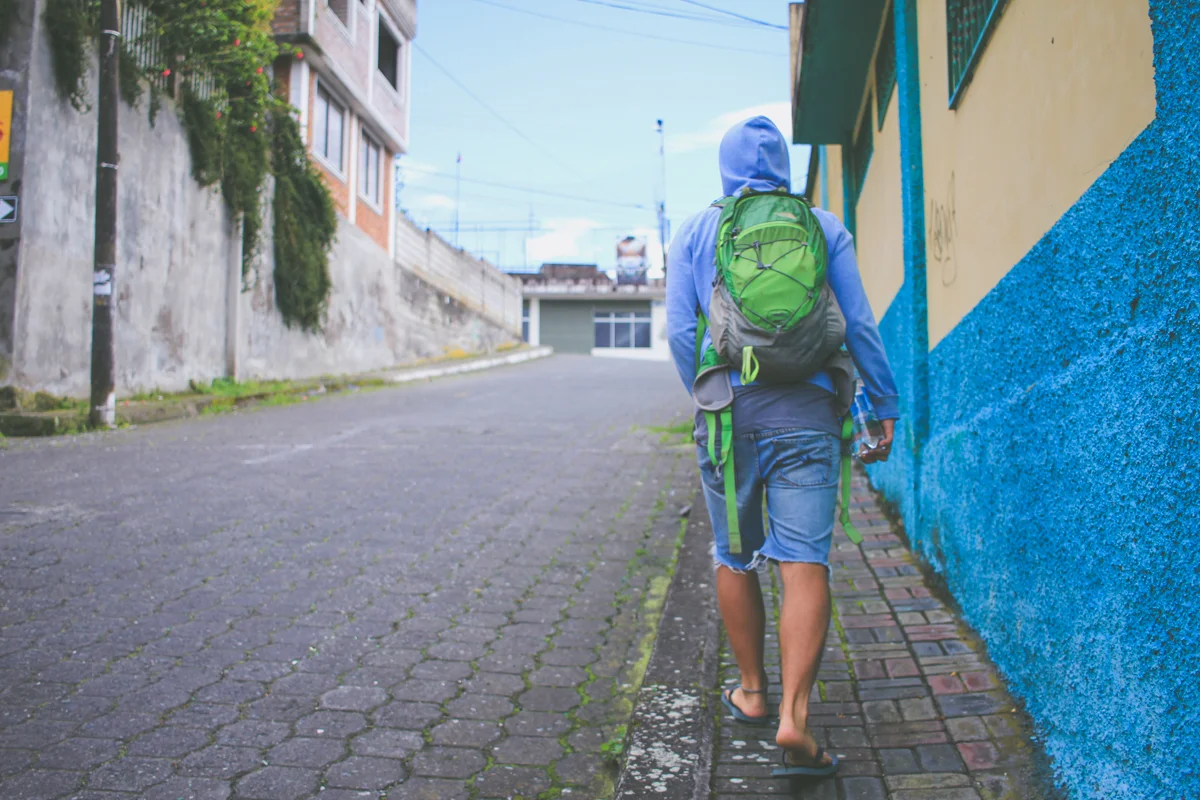
We're not exactly light packers, so we were ecstatic to ditch our big backpacks and live out of our day packs during the hike.
The best place to leave your valuables and other luggage is at Hostel Tiana in Latacunga. Although they have an exceptionally unhelpful and grumpy woman working the reception, we still recommend them. For $1.50 per person/day, you can leave your rucksack in a locked and CCTV monitored cellar and have access to your own locker, which you can secure with your own padlock (we use this 10-digit combi padlock on our trips).
If you stay there, you get the first night free but we preferred the cheaper rooms and hospitality at Hotel Central just around the corner (or check out one of the other hotels/hostels in Latacunga).
Unsure of what to pack for the Loop? Read our packing guide here.
#3....and leave your wi-fi addiction there too
It is rare these days to travel and not find much in the way of internet connections. Therefore, you should embrace the fact that on the Loop, wi-fi or internet is hard to come by. Although a couple of hostels in the town of Chugchilán do have access, why not leave your laptop and smartphone behind and enjoy being out of contact for a few days in the year.
#4 there are a variety of routes
Depending on your time, fitness and inclination for hiking and adventure, there are a few options in terms of route.
If you want to see the crater lake, but don't want to do any substantial hiking, then you can simply catch a bus from Latacunga to Quilotoa for a day-trip. Alternatively, you could take a bus to the town of Chugchilán, spend the night and then do the 6-8 hour hike from there to the lake.
However, we would wholeheartedly encourage everyone to do the Loop proper, which means a stay of at least three nights.
For our route, we wanted to have the grandstand finish of the crater lake in Quilotoa, so went with the following for 4 nights, 5 days (this could easily be done in 3 nights, 4 days too):
Latacunga > Isinlivi > Chugchilán > Quilotoa > Zumbahua > Latacunga
You can however choose to do it in reverse. Indeed, doing it that way would mean that the majority of the route would be downhill and therefore less physically challenging (although still with a few steep, tiring ascents). Check out our Quilotoa Loop route map at the bottom of this post for more information and to connect the dots, or use our transport post here.
#5 it can be very very cold
At night, expect to fall asleep under a mountain of blankets whilst still dressed in most of your hiking clothes, including hat.
It can be bitterly cold up there, so ensure you take appropriate clothing and enough layers with you. During our hike, we were actually blessed with sun and no rain during the days however as soon as the sun went down we were looking for the nearest fireplace in our hostel and a hot drink!
Top tip: Don't forget your thermal base-layers. We can't imagine hiking without them!
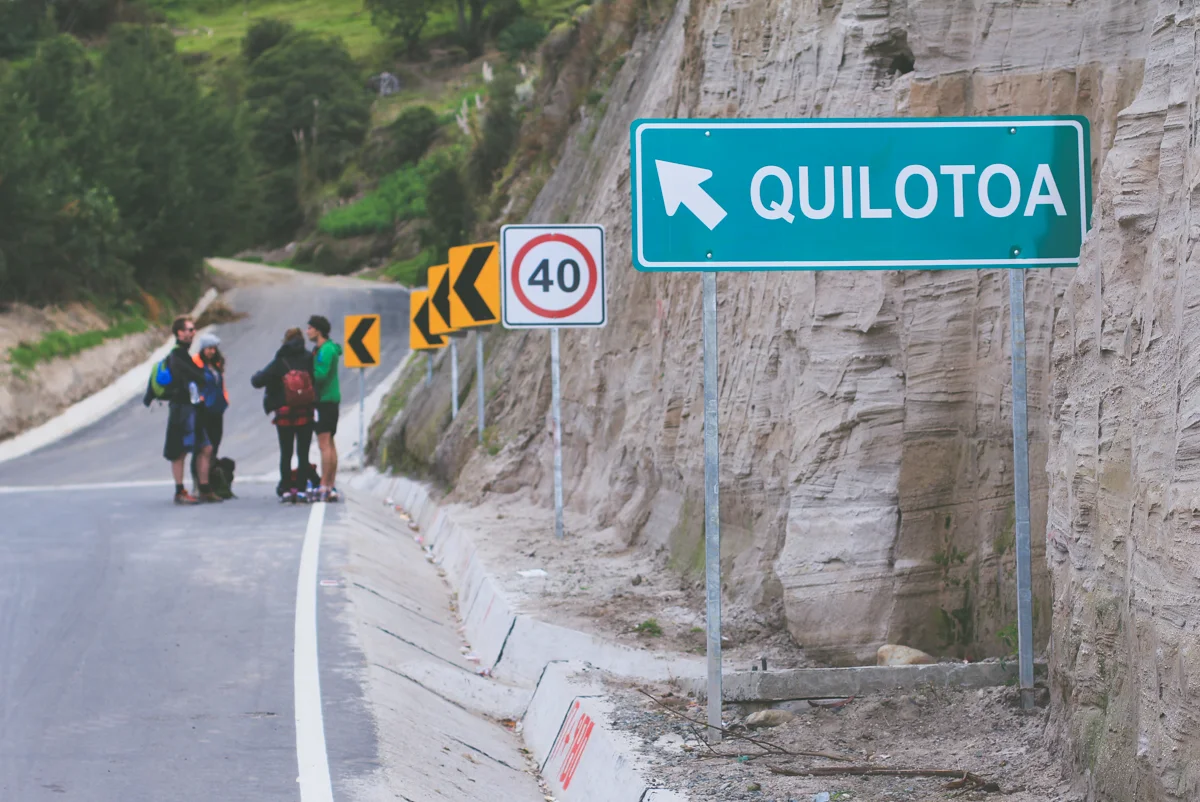
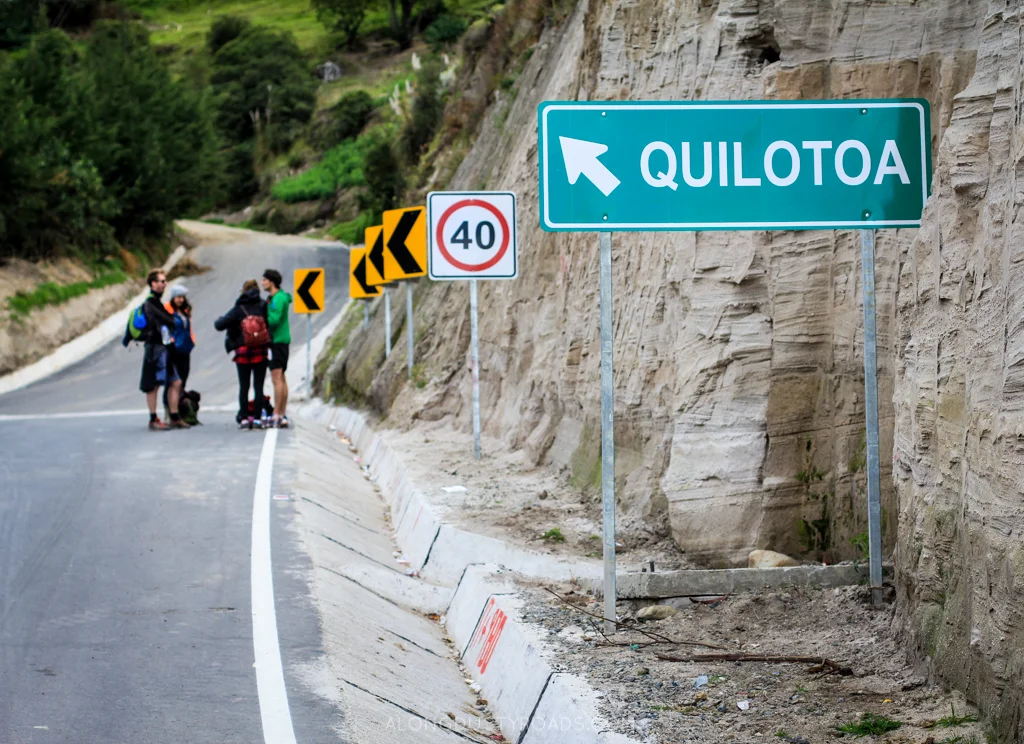
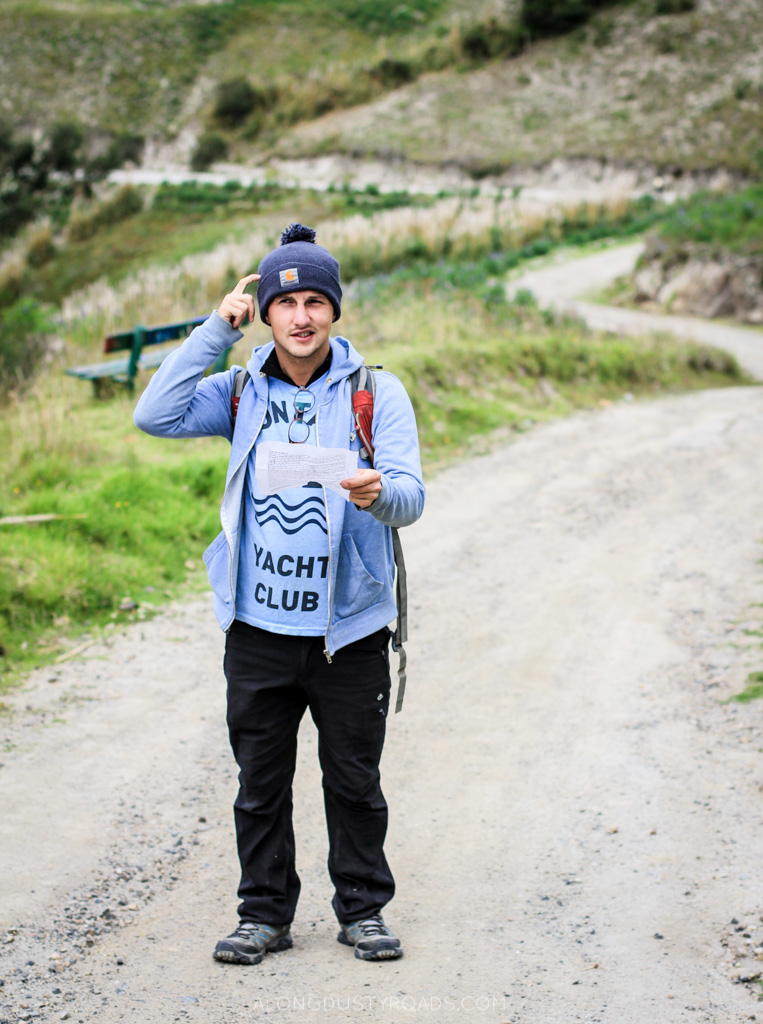
#6 you will get lost
Whichever route you end up taking, it is an inevitable fact that you will at some point take the wrong turn or miss a turn completely. Along the Loop, the signs directing the way are very limited, and those that are there are easy to miss or not placed in the most sensible place.
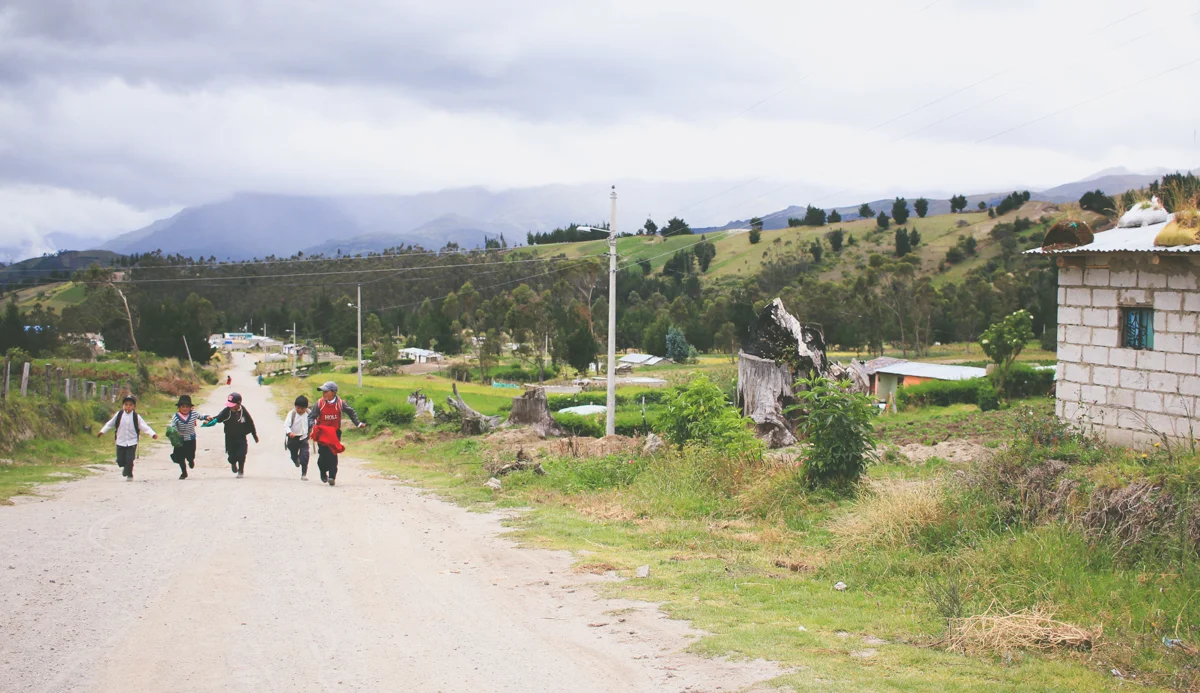
Before you leave a hostel in the morning, make sure to get a map and have the owner/staff explain the route to you. Unfortunately, the quality of map and directions given varies wildly between hostels so, even with them, the road to take may still not be clear. Also, there aren't too many locals to encounter along large stretches of the route in order to clarify or ask for directions.
So, our advice to you? Take the map, chat to travellers who did the route the previous night and, whenever you cross a fellow hiker coming from the opposite direction on the route, stop and share instructions.
Tip: Across lots of South America, and on remote hikes such as the Quilotoa Loop, accessing clean drinking water is difficult. This means you have to buy it as you go or carry lots with you o the hike. However, as we are both trying to use less plastic when we travel, we are also really looking to reducing the number of single-use plastic bottles we consume everywhere. So, a great piece of kit we now use on the road is a water filter bottle, which makes clean drinking water instantly available from almost any source (including rivers). The LifeStraw bottle is one option, whilst we use the cheaper 75CL Water-To-Go bottle (you can also get 15% off any Water-To-Go bottles with the code ADR15).
#7 the hostels cook all your meals and are great value
Overall, the standard of hostel on the Loop was pretty high and incredibly good value! We were both extremely surprised to find what turned out to be our favourite hostel in Ecuador at the top of a mountain in, frankly, the middle of nowhere.
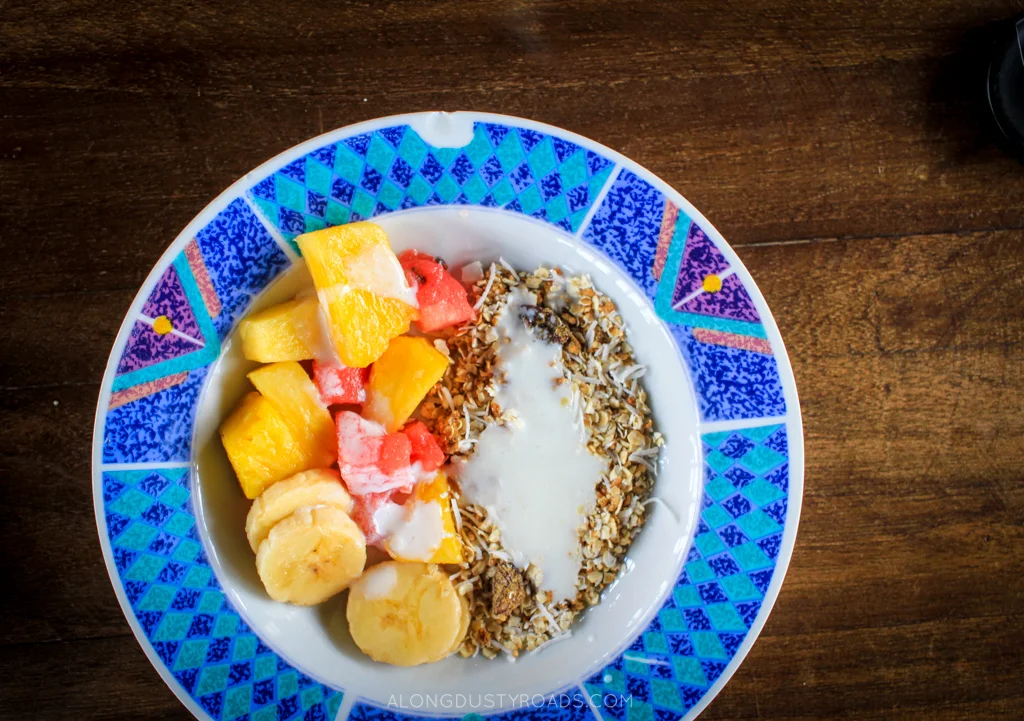
The practice wherever you stay is for meals to be included in the nightly rate so, for example, at Cloud Forest in Chugchilán we paid $15 each which included a private double with bathroom, 3-course dinner and a huge breakfast.
Be sure to bring a few snacks with you before leaving Latacunga though so you have something to nibble on along the way.
A lot of people have asked us in the comments section whether it's necessary to book accommodation in advance - our advice would be that, if you follow our route, you will be fine simply turning up each day and you'll find an inexpensive room somewhere. However, if you want to stay at Llullu Llama in Insinlivi (our absolute favourite), then you should certainly book ahead as it is one of only two options in the village (and by far the best) and it only has limited space available.
TRAVEL TIP
We often rent apartments on Airbnb when travelling and highly recommend it to anyone on a long-term trip. There are lots of amazing options throughout Ecuador and South America - sign up here to get up to £25 / $40 off your first Airbnb reservation!
#8 altitude adjustment is necessary
Throughout our trip, altitude sickness has never really posed too much of an issue. However, after seven weeks on the coast, we both felt miserable in Latacunga and on the first day of our hike.
Whether this was more to do with the fact that we were cold and wet, rather than at height, for the first time in ages, we both realised that going straight from one extreme to the other may not have been the most sensible idea.
The crater at Quilotoa is at 3,800m, whilst Isinlivi is the lowest town at 2,800m. Therefore, make sure you've given yourself a day or two in Latacunga or Quito to adjust to the altitude before you set off.
It's necessary to good travel insurance before setting off on a hike such as this - and travelling in South America without it is definitely not a good idea. We recommend True Traveller or World Nomads but, if you're confused about travel insurance, then read this post first.
You don't require a high fitness level for the Loop but, obviously, it will be an awful lot easier if you're used to doing some exercise, have acclimatised and enjoy the thought of walking for 5+ hours.
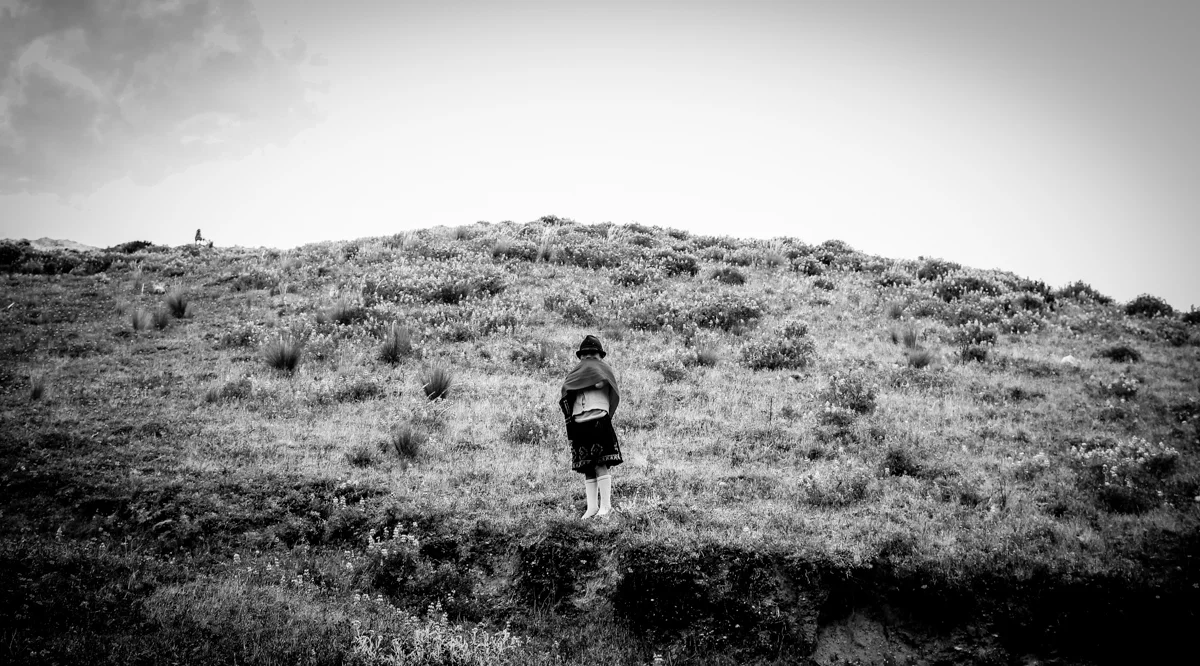
#9 be respectful with your camera
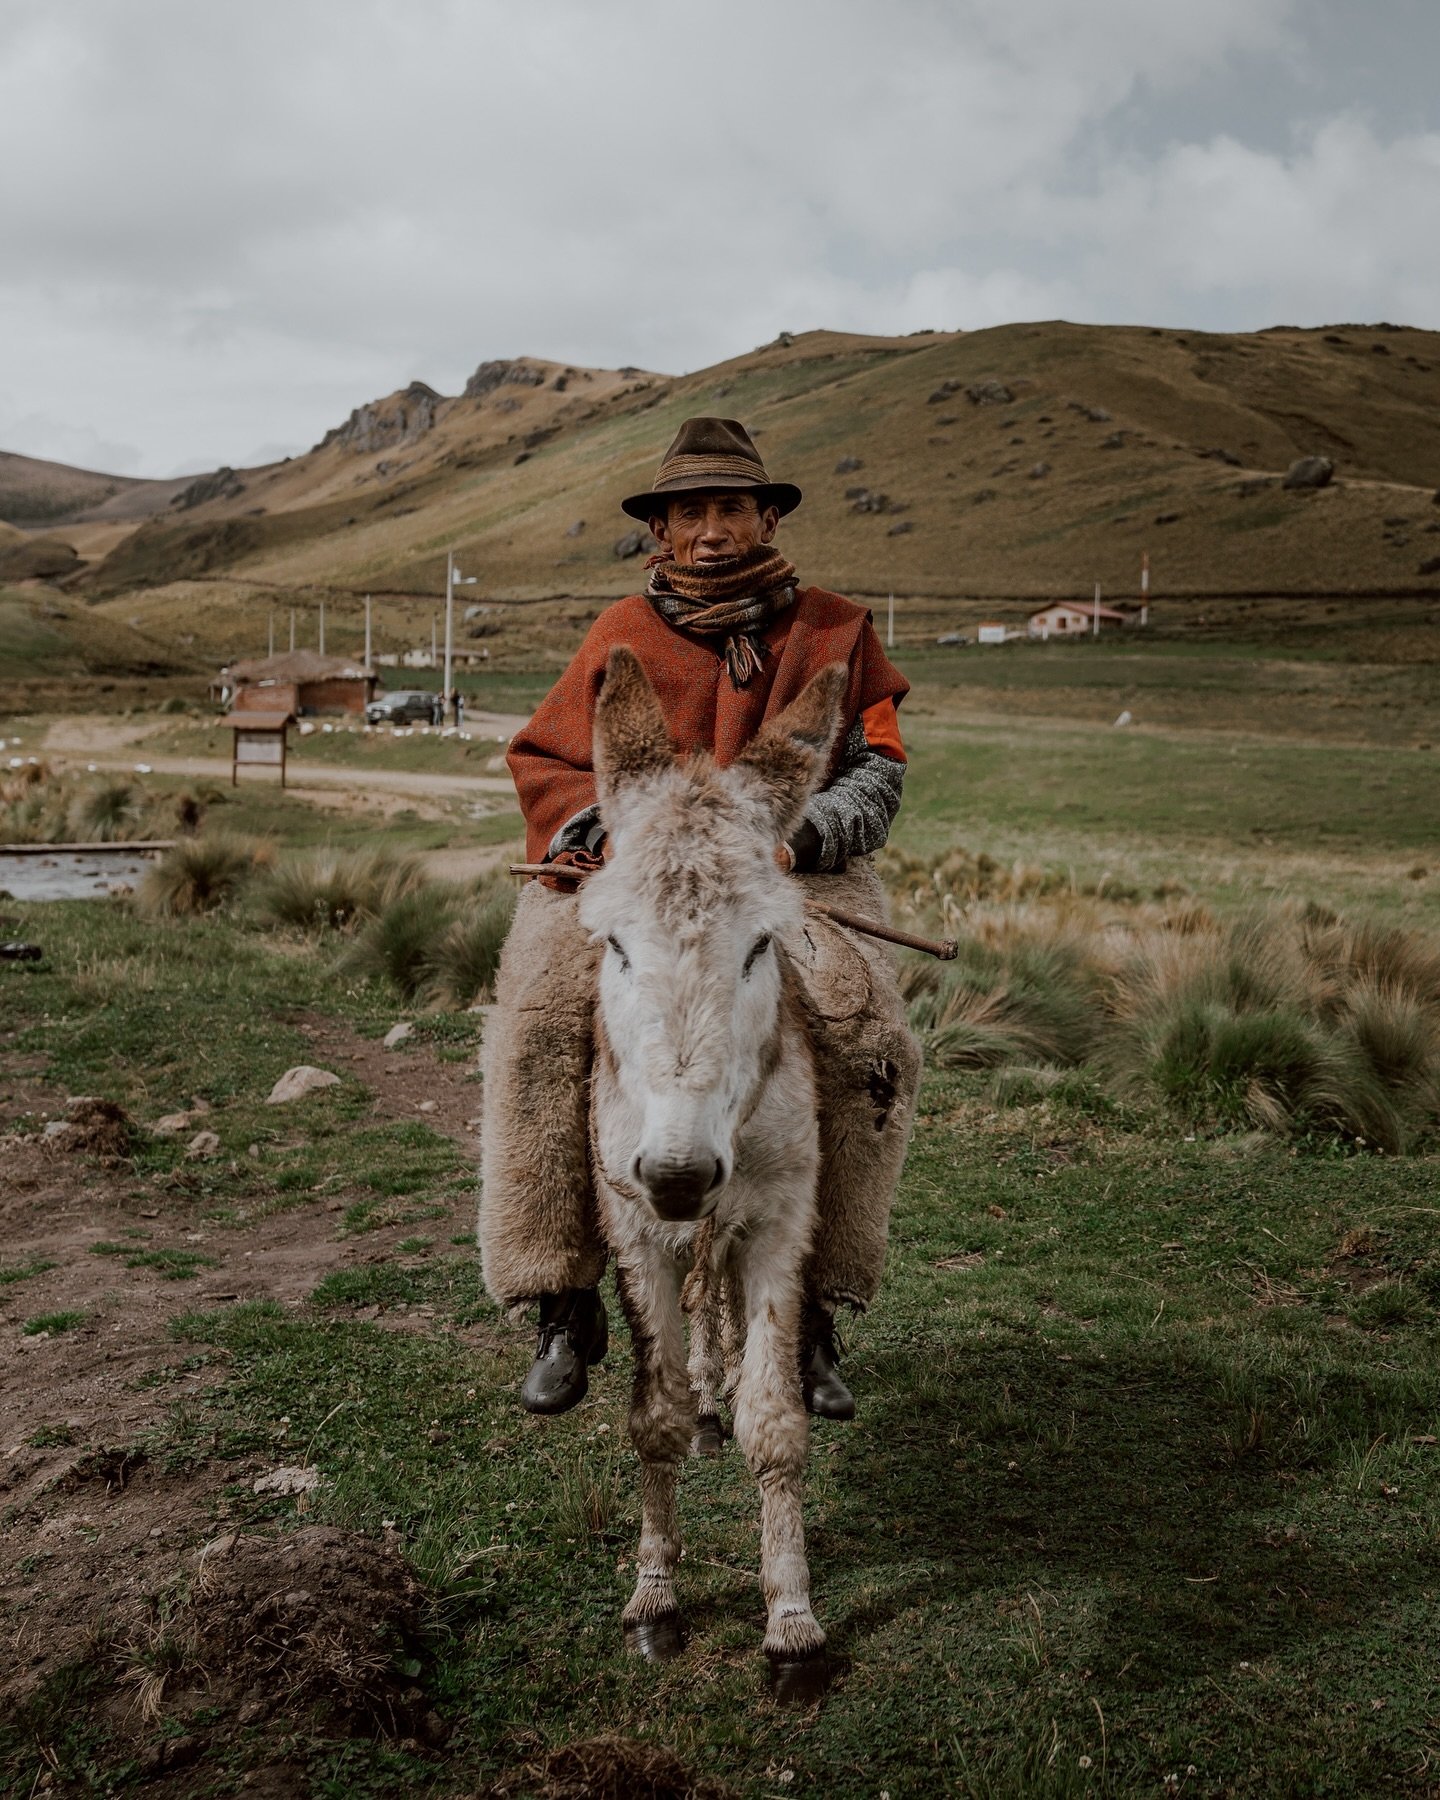
As is common when travelling within indigenous communities, the temptation to take a photo of everyone and everything is high. However, as is also very common in these areas, the people aren't necessarily enthralled by having lenses shoved in their faces on a daily basis.

Be respectful and, unless you're doing covert street photography, ask permission to take someone's photo.
During or at the end of most encounters with a local along the Loop, you are likely to be asked for 'un dollarcito'. Kids may ask for this or a sweet instead. We will leave it up to you to decide your approach and response to this.
Want to see some of the characters we met along the Loop? Here's our photo essay.
#10 you need to take all your money
Unsurprisingly, there aren't ATMs up here. Therefore you need to budget and take enough money (plus some emergency cash in case something goes wrong and you stay longer). To help you work out the potential costs, here's a post on our expenses for 5 days on the Loop.
Lastly, we feel it's important to note that we both felt extremely safe whilst doing the Loop. Of course, be cautious, sensible and use common sense but don't let safety fears deter you from undertaking this great trip.
and just because we like you.....
...we've put together this little interactive route map to help you plan and understand what the Loop actually looks like. Just click on the markers to get information on each village and the hikes to/from them.